
Data Sphere BatRep! Military Orders vs. Qapu Khalqi
Lampyridae’s Military Order vs. Scorch’s Qapu Khalqi
With N3 just around the corner, we say goodbye to 2nd Edition in BatRep style! Today we feature an old battle report played by Lampyridae and Scorch! We played a game in the spring of 2014 when Lampyridae visited at Arachas’ place. This is our first Data Sphere Batrep and it has been a while since the game took place, so bear with us! 😉
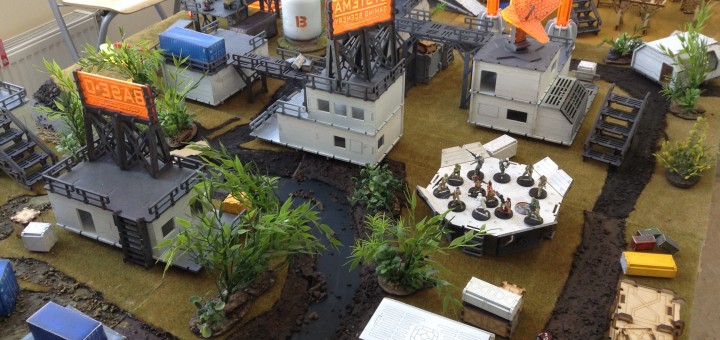
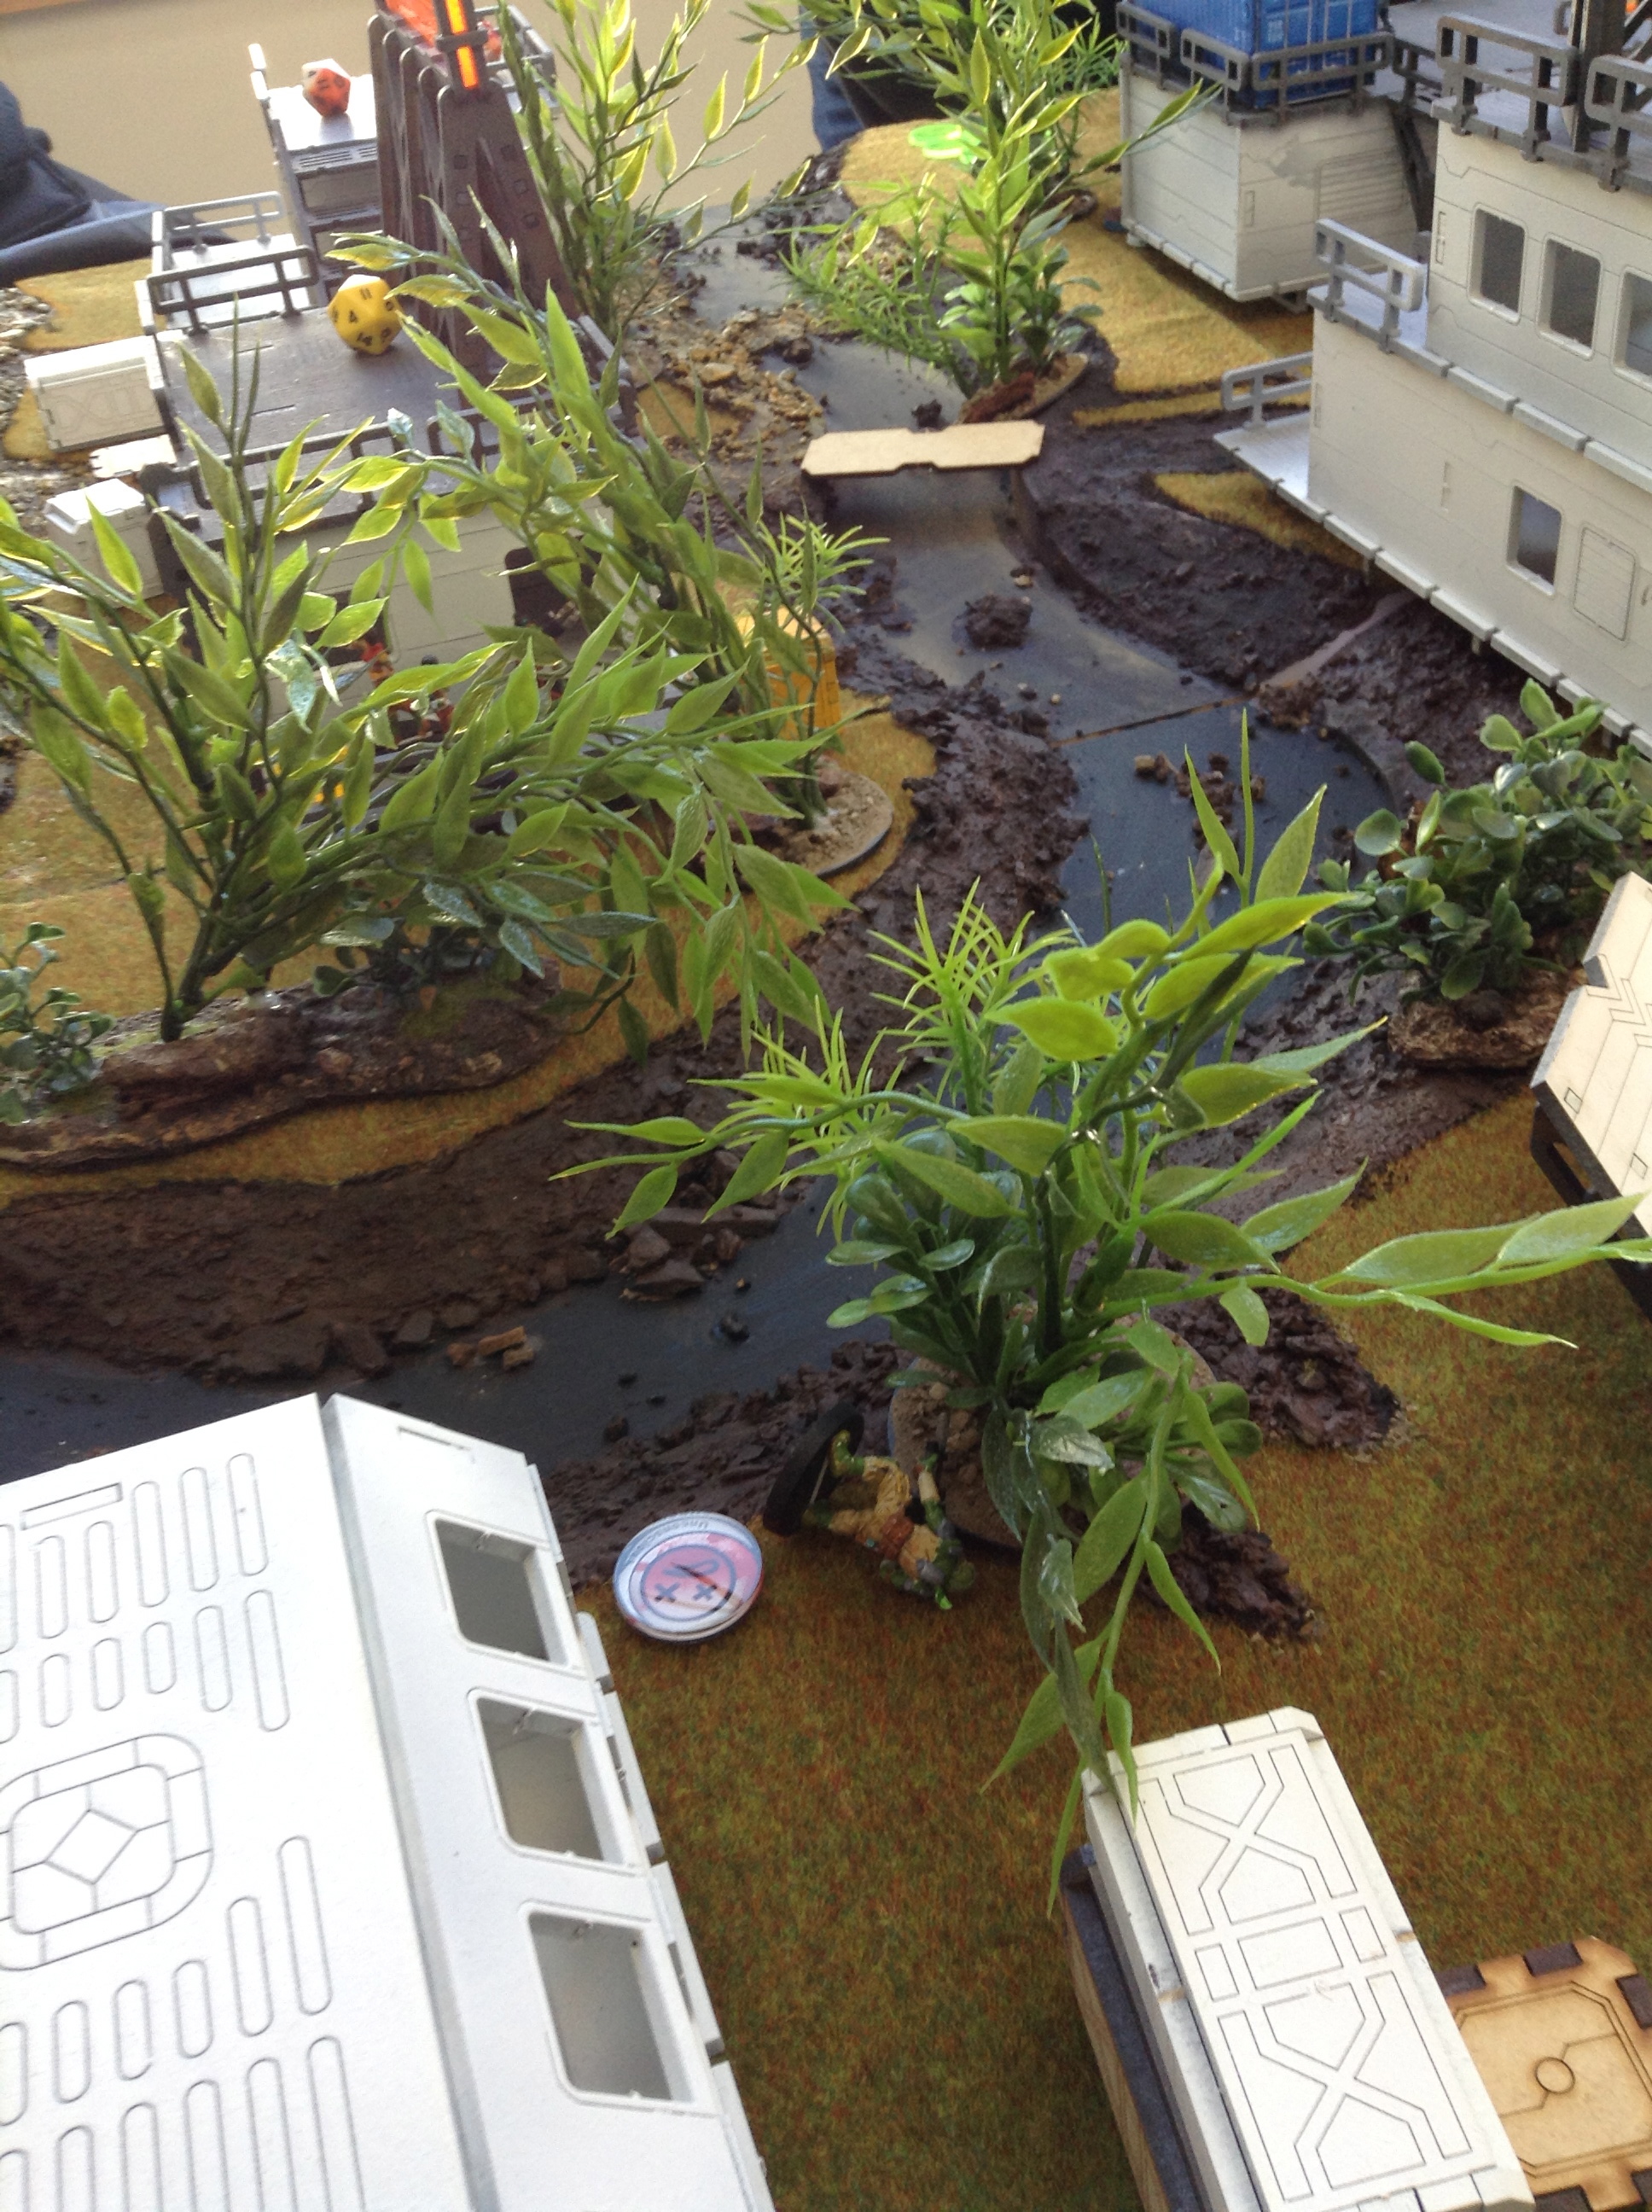
We played a YAMS game, on a table filled with Systema Gaming Scenery‘s beautiful Base-0 line!
Gametype: YAMS
Story:
In the Merovingian territory on planet Dawn a fugitive Templar Knight is hiding with a small force of the Qapu Khalqi. While the Haqqislamites try to get the Templar into hiding, some of the Hospitallers are on their trail. When the Qapu Khalqi force finally reaches one of the HaqqIslamic facilities on Dawn the Hospitallers catch up with them. This will become a hard battle if the Qapu Khalqi want to reach their orbital elevator.
Lamypridae’s objectives and list
Objectives: Assess, Ambush, and one hidden which we cannot remember.
List
Military Orders (300/300 | 5/6) Group #1 | 8 ModelsIndigo Brother Konstantinos | Combi Rifle, Assault Pistol / D-Charges, Knife (29)
Order Sergeants Combi | Combi Rifle, Pistol / Knife (13)
Order Sergeants Combi | Combi Rifle, Pistol / Knife (13)
Order Sergeants Spitfire | Spitfire, Pistol / Knife (1 | 20)
Spec. Sergeants Auxbot | G: Synchronized (Controller), Combi Rifle, Pistol / Knife (17) Knights Hospitaller HMG | HMG, Pistol / AP CCW (2 | 49)
Knights Hospitaller Lieutenant | Lieutenant, MULTI Rifle, Pistol / AP CCW (48)
Spec. Sergeants TO Sniper | CH: TO Camouflage, Infiltration, MULTI Sniper Rifle, Pistol / Knife (1.5 | 39) Group #2 | 5 Models
Fusiliers Combi | Combi Rifle, Pistol / Knife (10)
Fusiliers Combi | Combi Rifle, Pistol / Knife (10)
Fusilier Indigo Bipanda | Combi Rifle, Light Shotgun, Pistol / Knife (0.5 | 24)
Machinist Engineer | Combi Rifle, Pistol / D-Charges, Knife (15)
Palbots | Electric Pulse (3)
Fusiliers Combi | Combi Rifle, Pistol / Knife (10)
Scorch’s objectives and lists
Objectives: Destroy an objective, Advance, Get the crate
List
Qapu Khalqi (297/300 | 6/6) Group #1 | 7 Models | 7 0 0Djanbazan HMG | HMG, Pistol / CCW (1.5 | 36)
Al Hawwa’ Unit Observer | Forward Observer, Boarding Shotgun, Pistol / D-Charges, Knife (24)
Ghulam Lieutenant | Lieutenant, Rifle, Light Shotgun, Pistol / Knife (13)
Ghulam Rifle | Rifle, Light Shotgun, Pistol / Knife (13)
Ghulam Doctor | Doctor, Rifle, Light Shotgun, Pistol / Knife (17)
Ghulam HMG | HMG, Pistol / Knife (1 | 21)
Ghulam Hacker | Hacker, Hacking Device, Rifle, Light Shotgun, Pistol / Knife (0.5 | 25) Group #2 | 6 Models | 6 0 0
KTS, Kaplan Tactical Services ADHL | Combi Rifle, Adhesive Launcher, Pistol / D-Charges, Knife (23)
Odalisques Haris | Fireteam: Haris L1, Rifle, Light Shotgun, Nanopulser, Pistol / Knife (1 | 26)
Odalisques Spitfire | Spitfire, Nanopulser, Pistol / Knife (1 | 31)
Odalisques SMG | Submachine Gun, Contender, Nanopulser, Pistol / Knife (25)
Hafza Unit Observer | Forward Observer, Rifle, Light Shotgun, Pistol / Knife (20)
Hafza Unit Spitfire | Spitfire, Pistol / Knife (1 | 23)
Deployment
Initiative Roll is won by Scorch, who chooses to go first. Lampyridae decides which side he’ll deploy on and he chooses to deploy first.
-
- Lampyridae’s Deployment
-
- Scorch’s Deployment
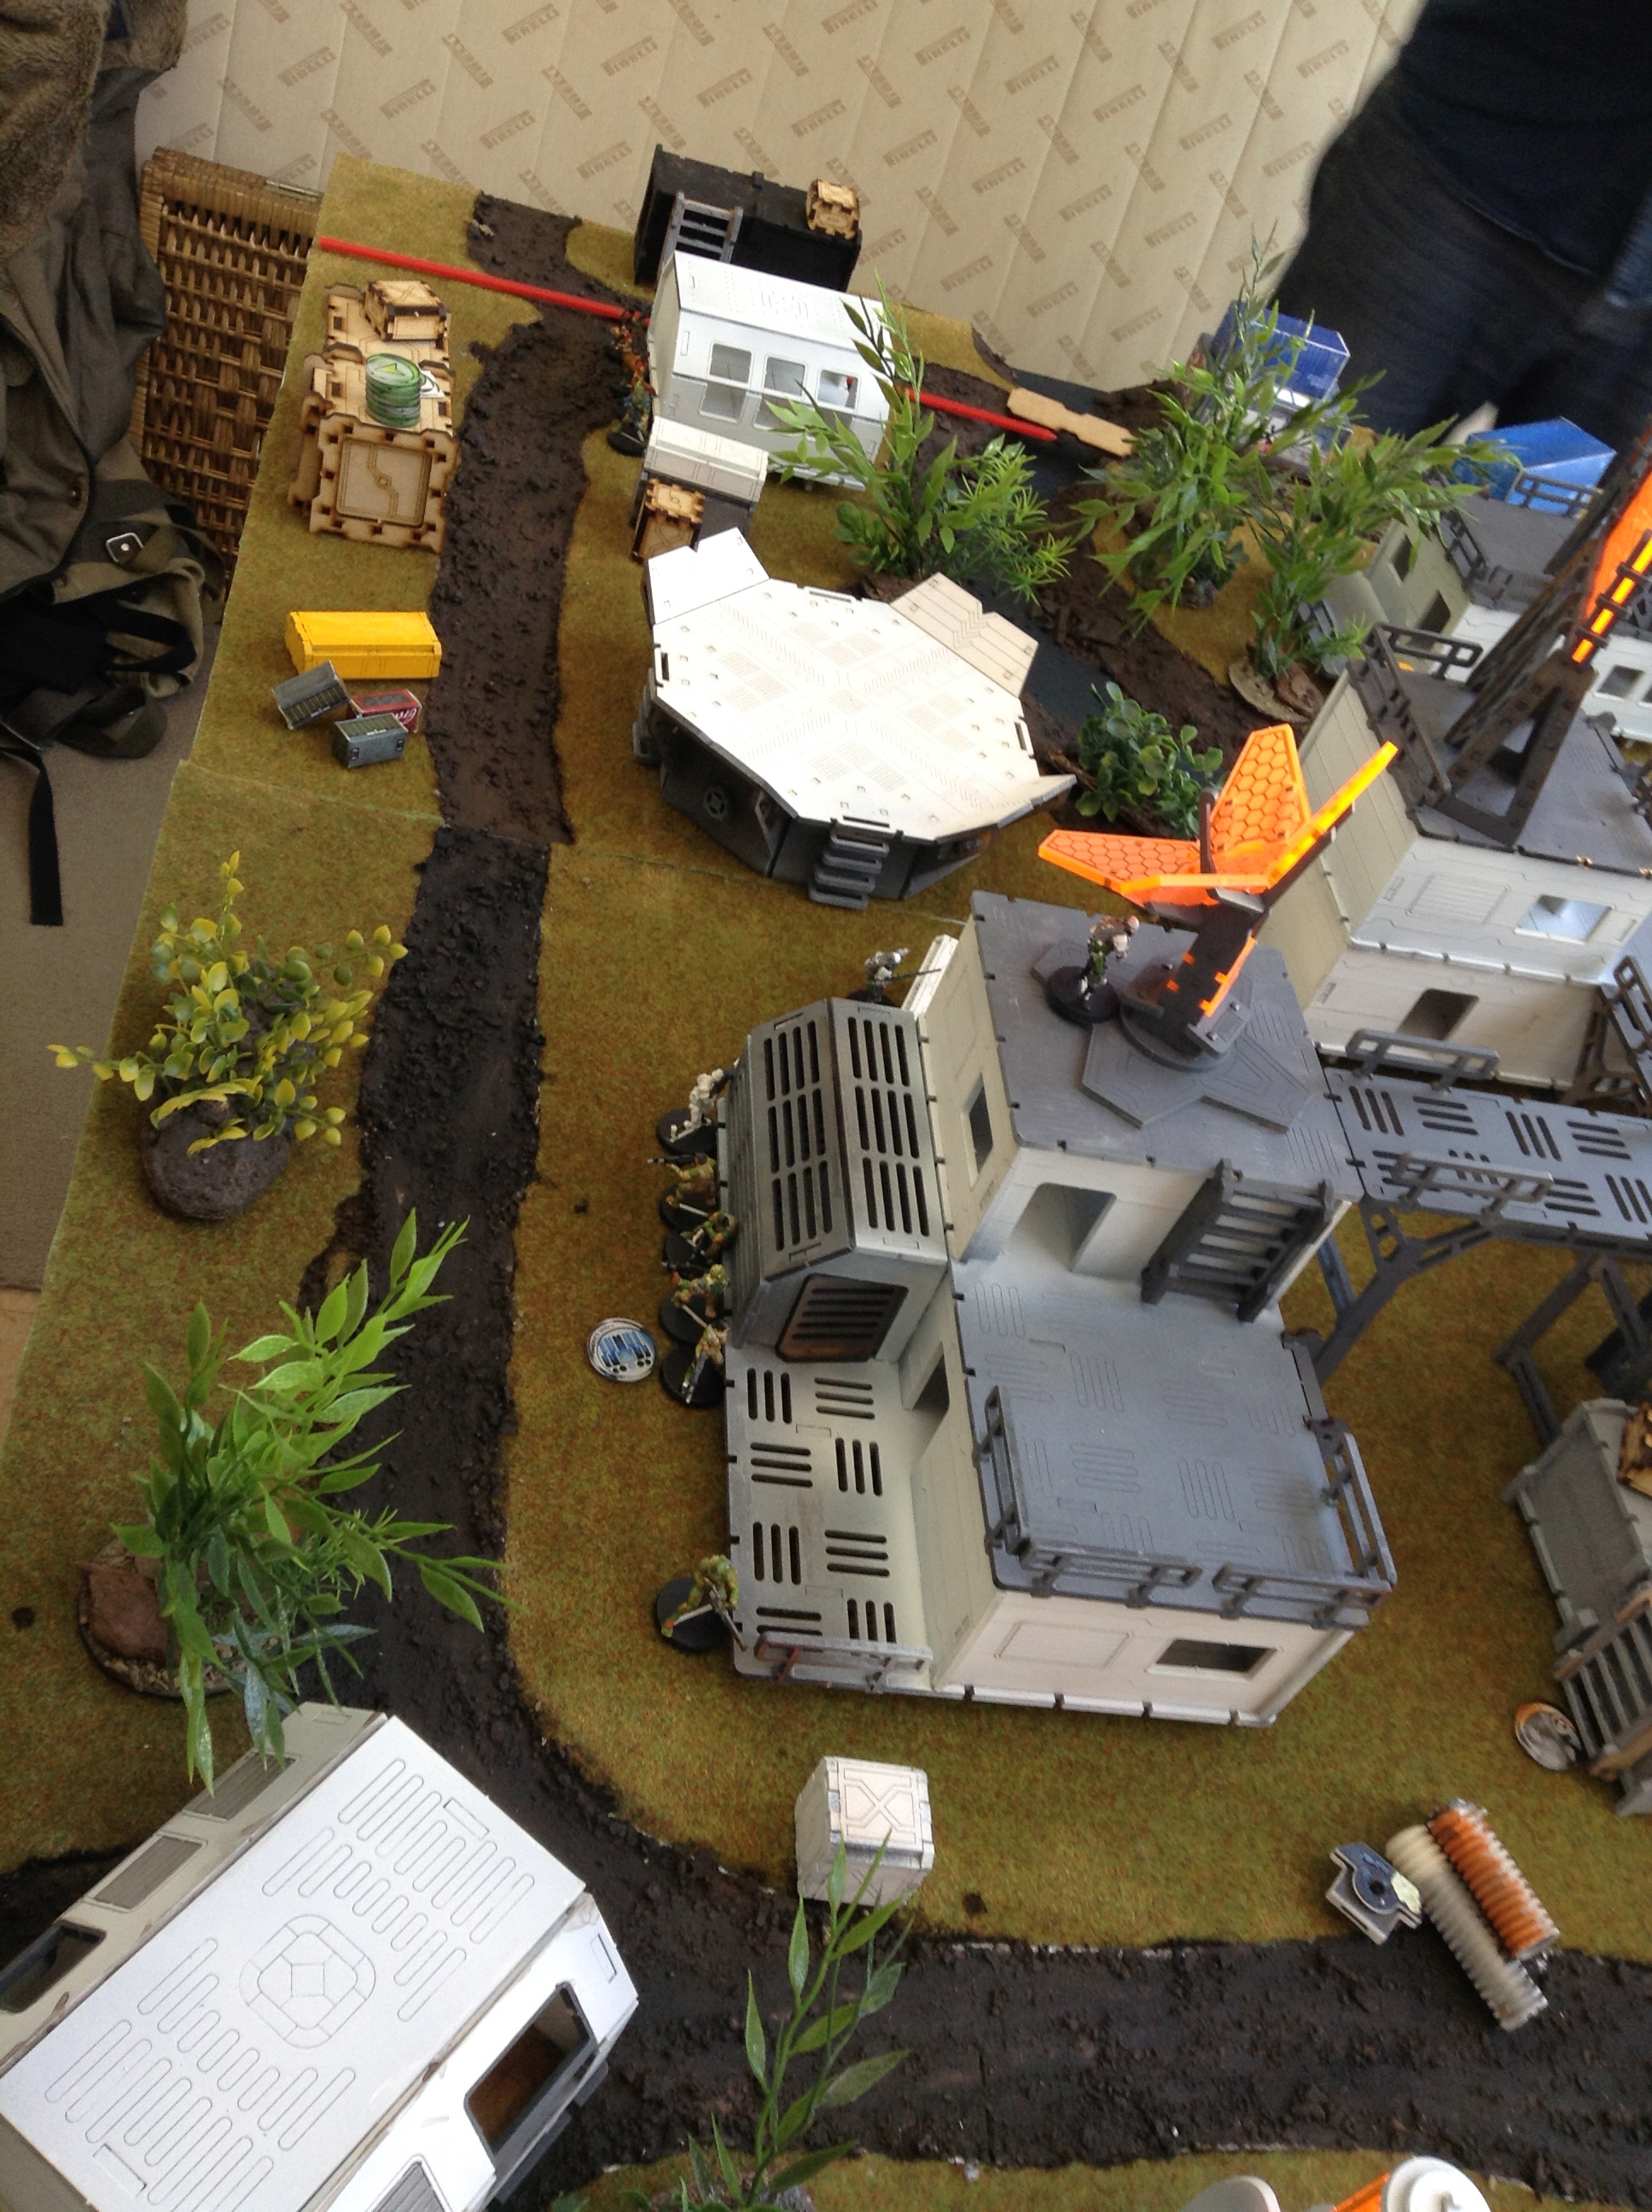
Lampyridae deployed his Order in true knight’s fashion; ridiculously brave and ready to get into Close Combat with their Haqqislamic enemy. His knight is already on the stairs to run up close! Backed by two possible linkteams of Order Sergeants and Fusilliers his force is ready to grab their objectives in high mobile fashion! His Spec-Sergeant is in the back, waiting to advance with his Auxbot, and the TO Spec Sergeant is nowhere to be seen!
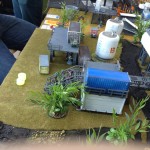
Scorch deployed his Qapu Khalqi in a defensive position. The al Hawwa infiltrates as a camo token to the mid-section of the table, behind some crates. His Ghulam linkteam hides behind the HQ building and the KTS is on top of the building, gaining himself a nice sniper position with his ADHL. The two Hafzas are disguised as a KTS with multi-sniper and a Azra’il Feuerbach. The Odalisque Haris and the Djanbazan are deployed on the other end of the Deployment Zone, where they can flank the enemy and grab some close objectives.
First turn
Scorch
The infiltrated camo marker reveals himself to be an Al’Hawwa. He quickly puts a D-charge on the crate and it is destroyed.
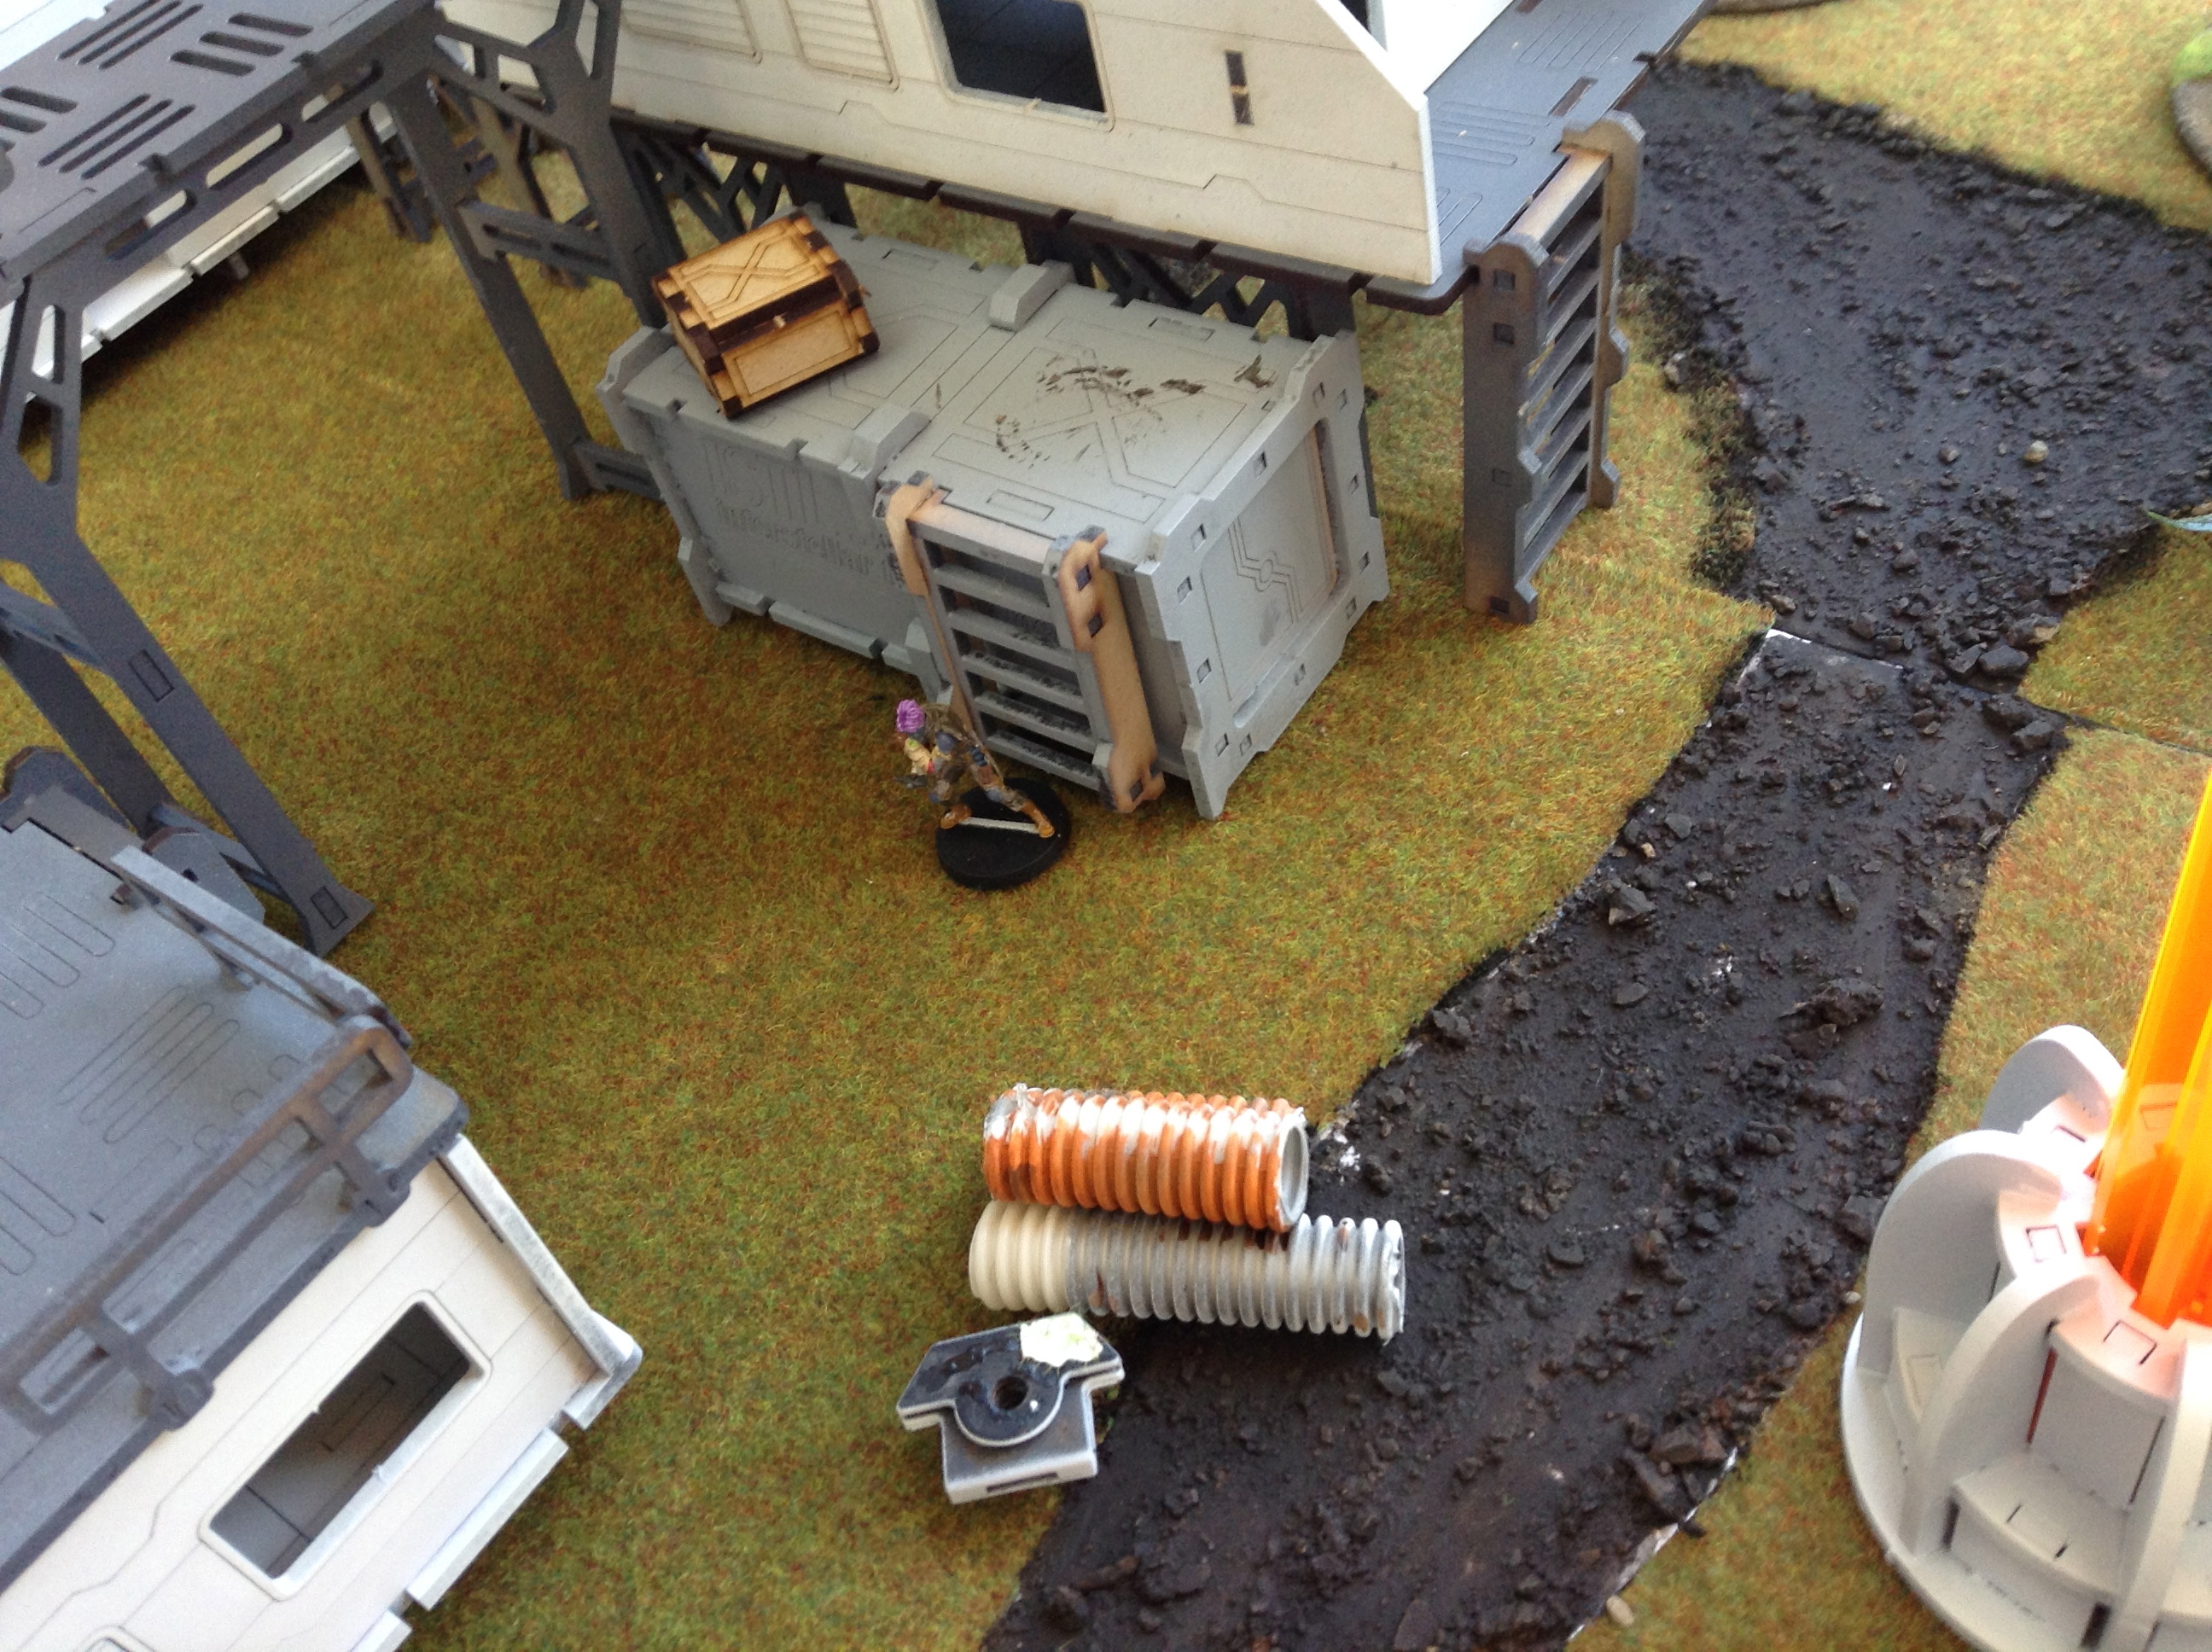
al Hawwa gets out of camo and destroys the crate.
The Odalisque Haris team gets out from hiding and moves up quickly. They manage to get to the crate and open it after two orders.
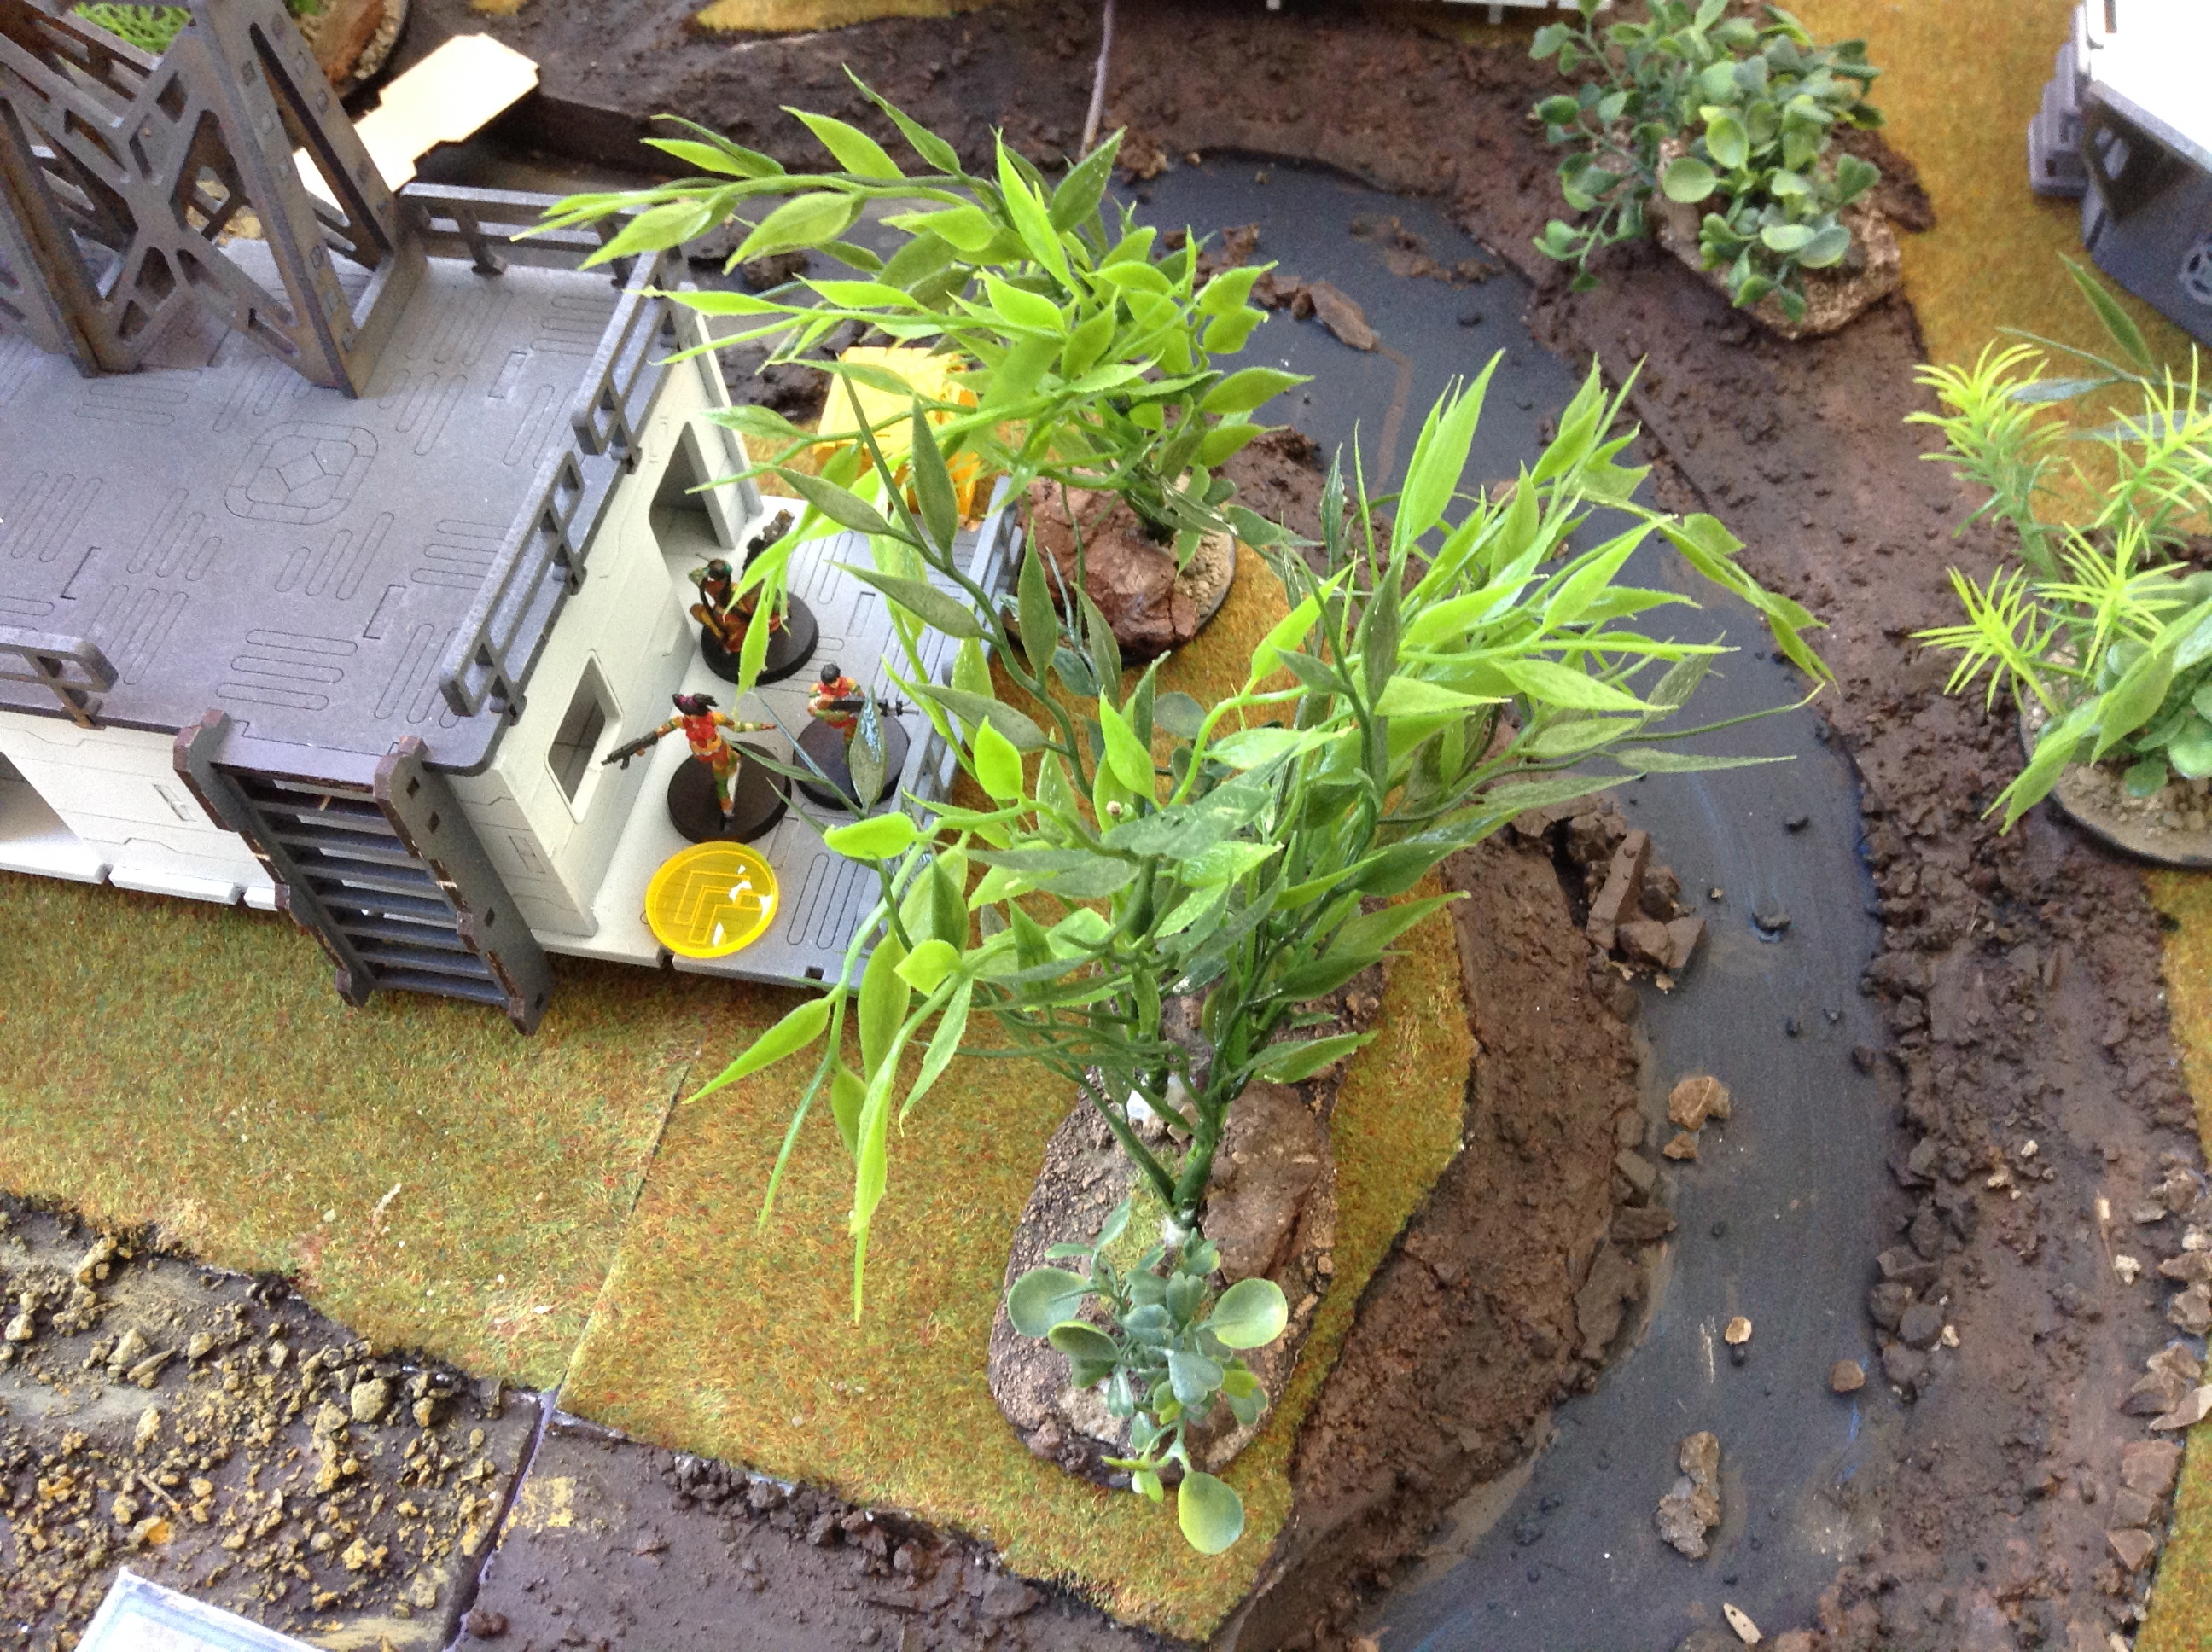
The Haris team gets to their objective.
The Djanbazan carrying the HMG goes up and gets to cover in the foliage, granting him a -3 on BS, but not the +3 ARM. He points his HMG straight at the walkway between the buildings, trying to stop the Knights if they cross the walkway to the other side.
The last orders are for the Hafza, disguised as a Kaplan sniper, who moves up to the centre building to get a clear shot at the open space between the two buildings.
The Al’Hawwa gets back into camo.
Lampyridae
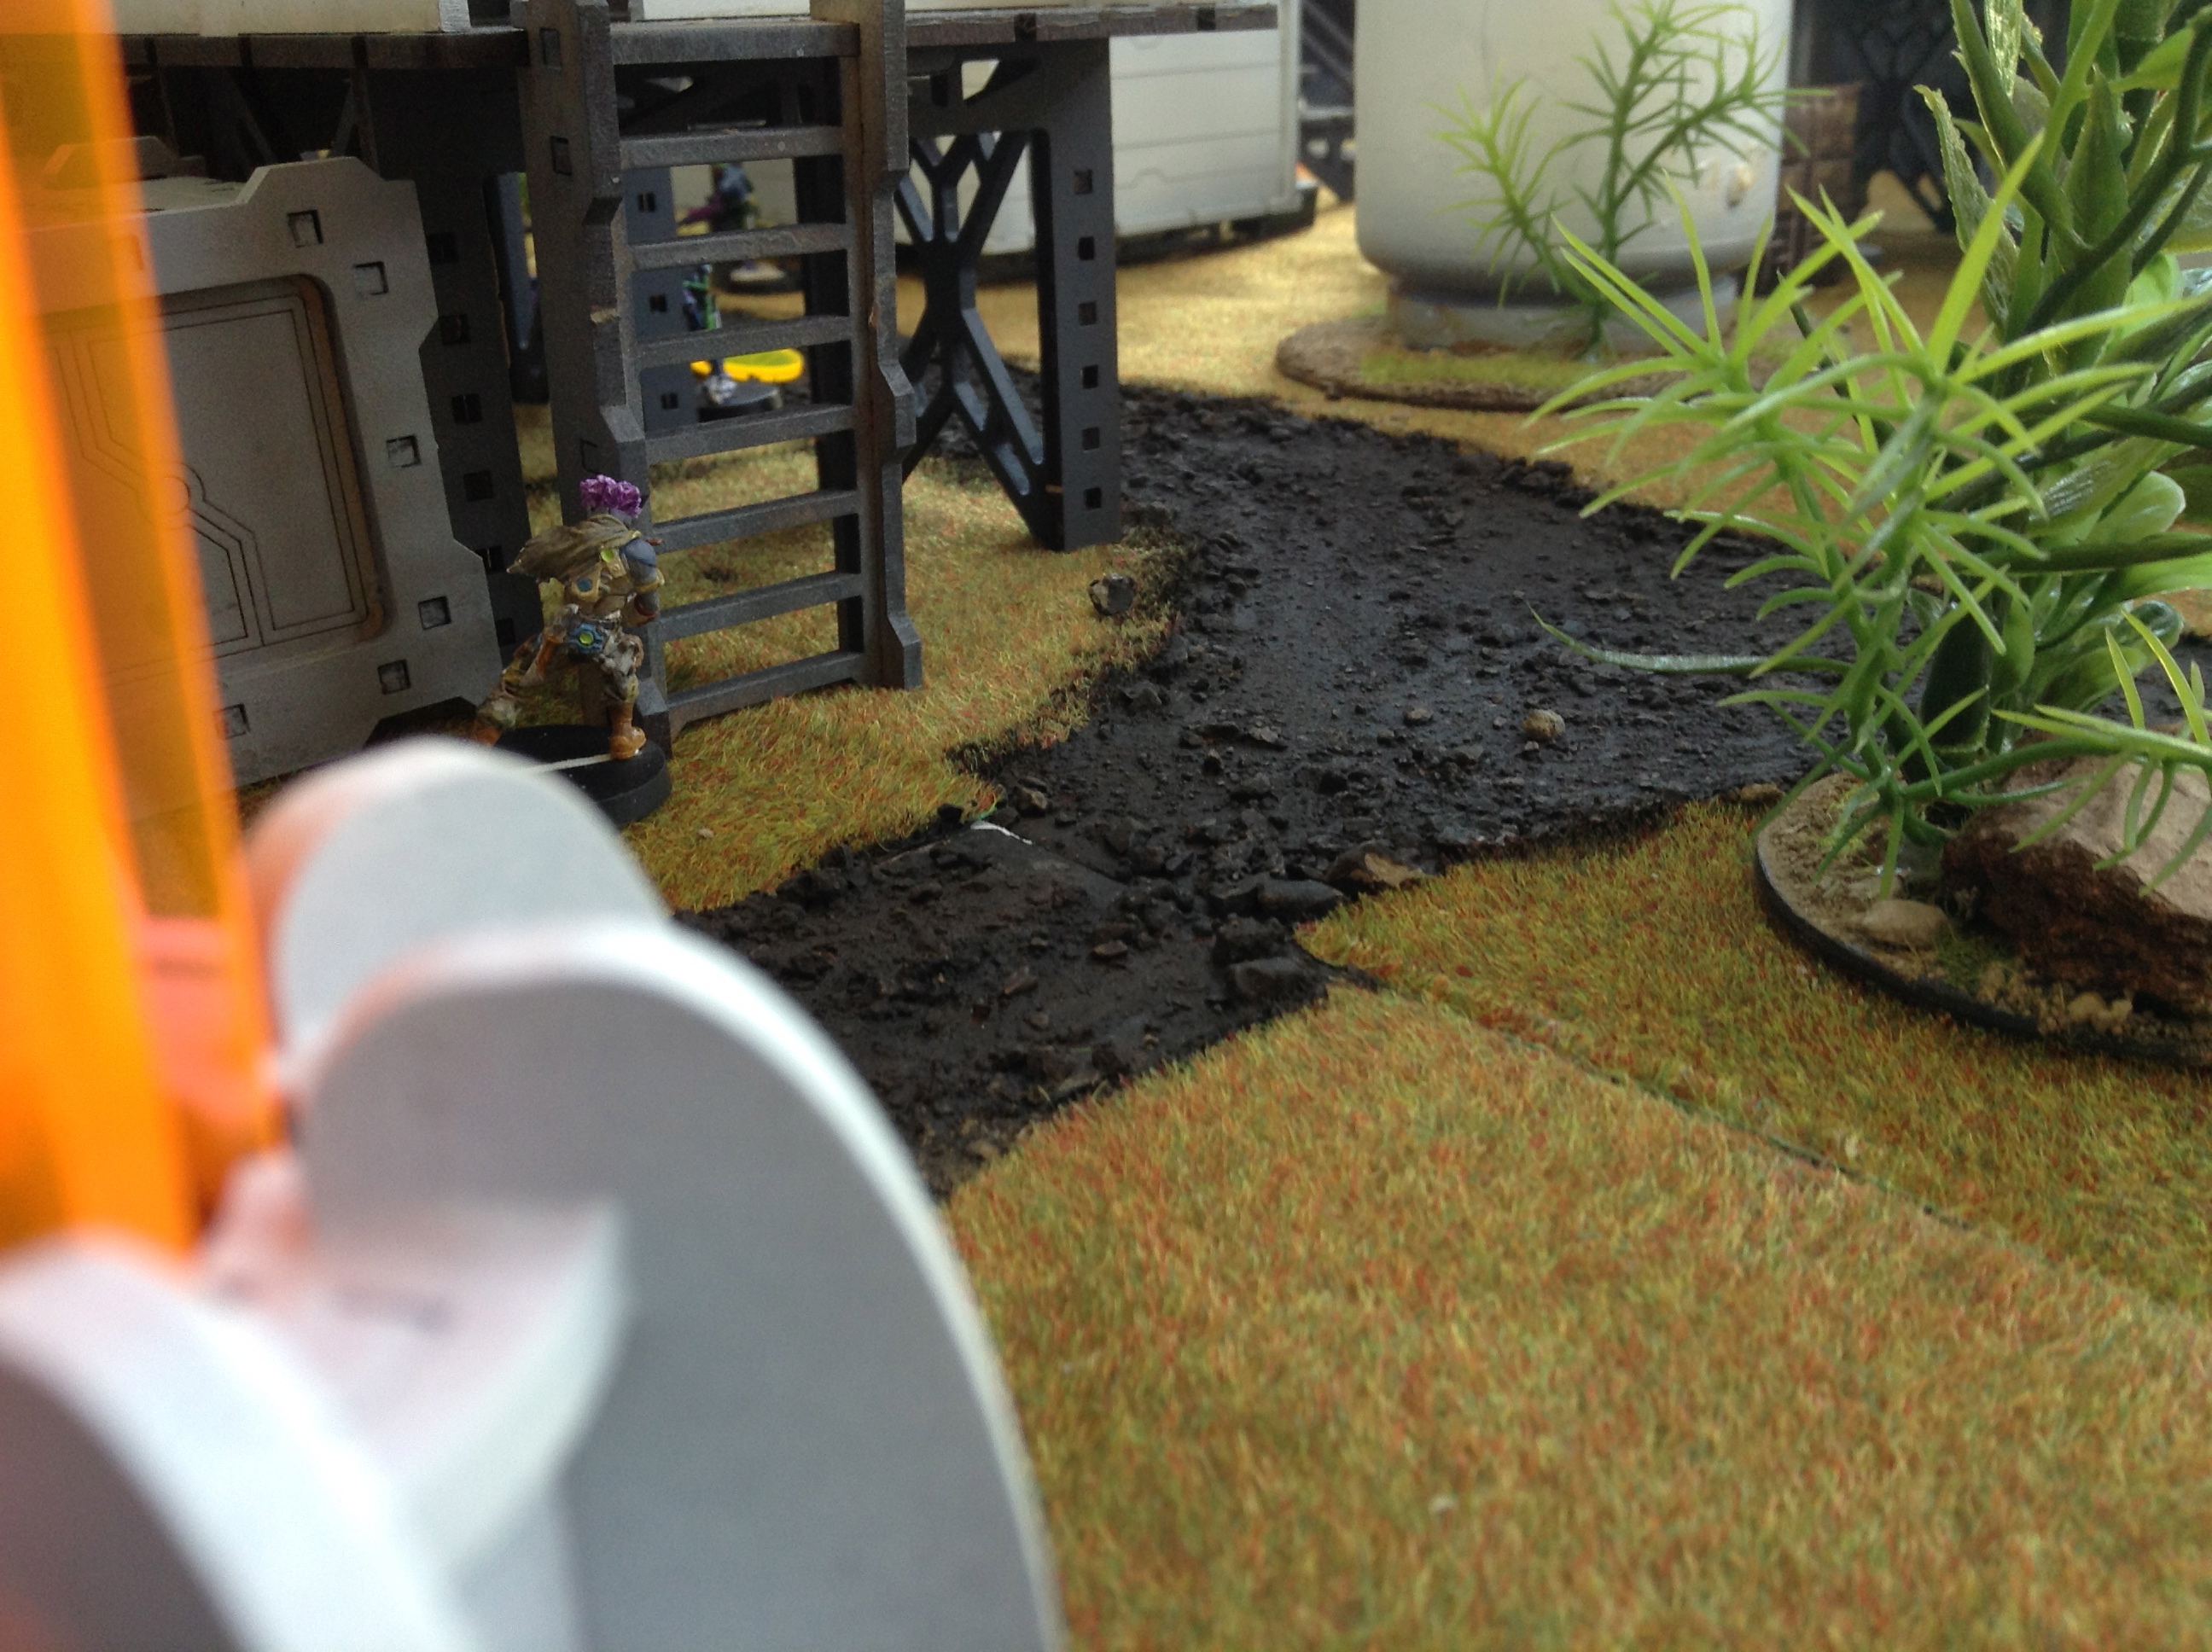
Lampy decided to play the Military Orders in an arrogant fluffy way. The Hospitaller Knight moves up the stair on the roof of the building. They are ready for battle and nothing is going to stop them from reaching their objectives! Unfortunately, the Kaplan on the high roof under the antennae spots him. He takes a shot with his ADHL and the Knight shoots him as well. They both miss because of the distance. Since the Knight on the roof is out in the open and the Kaplan behind the antennae has a perfect sniper spot, Lampyridae decides not to go that way. The ADHL is too much of a threat as Lampyridae has no Engineer in his army. Getting his Knight stickied to the roof will hurt his list badly.
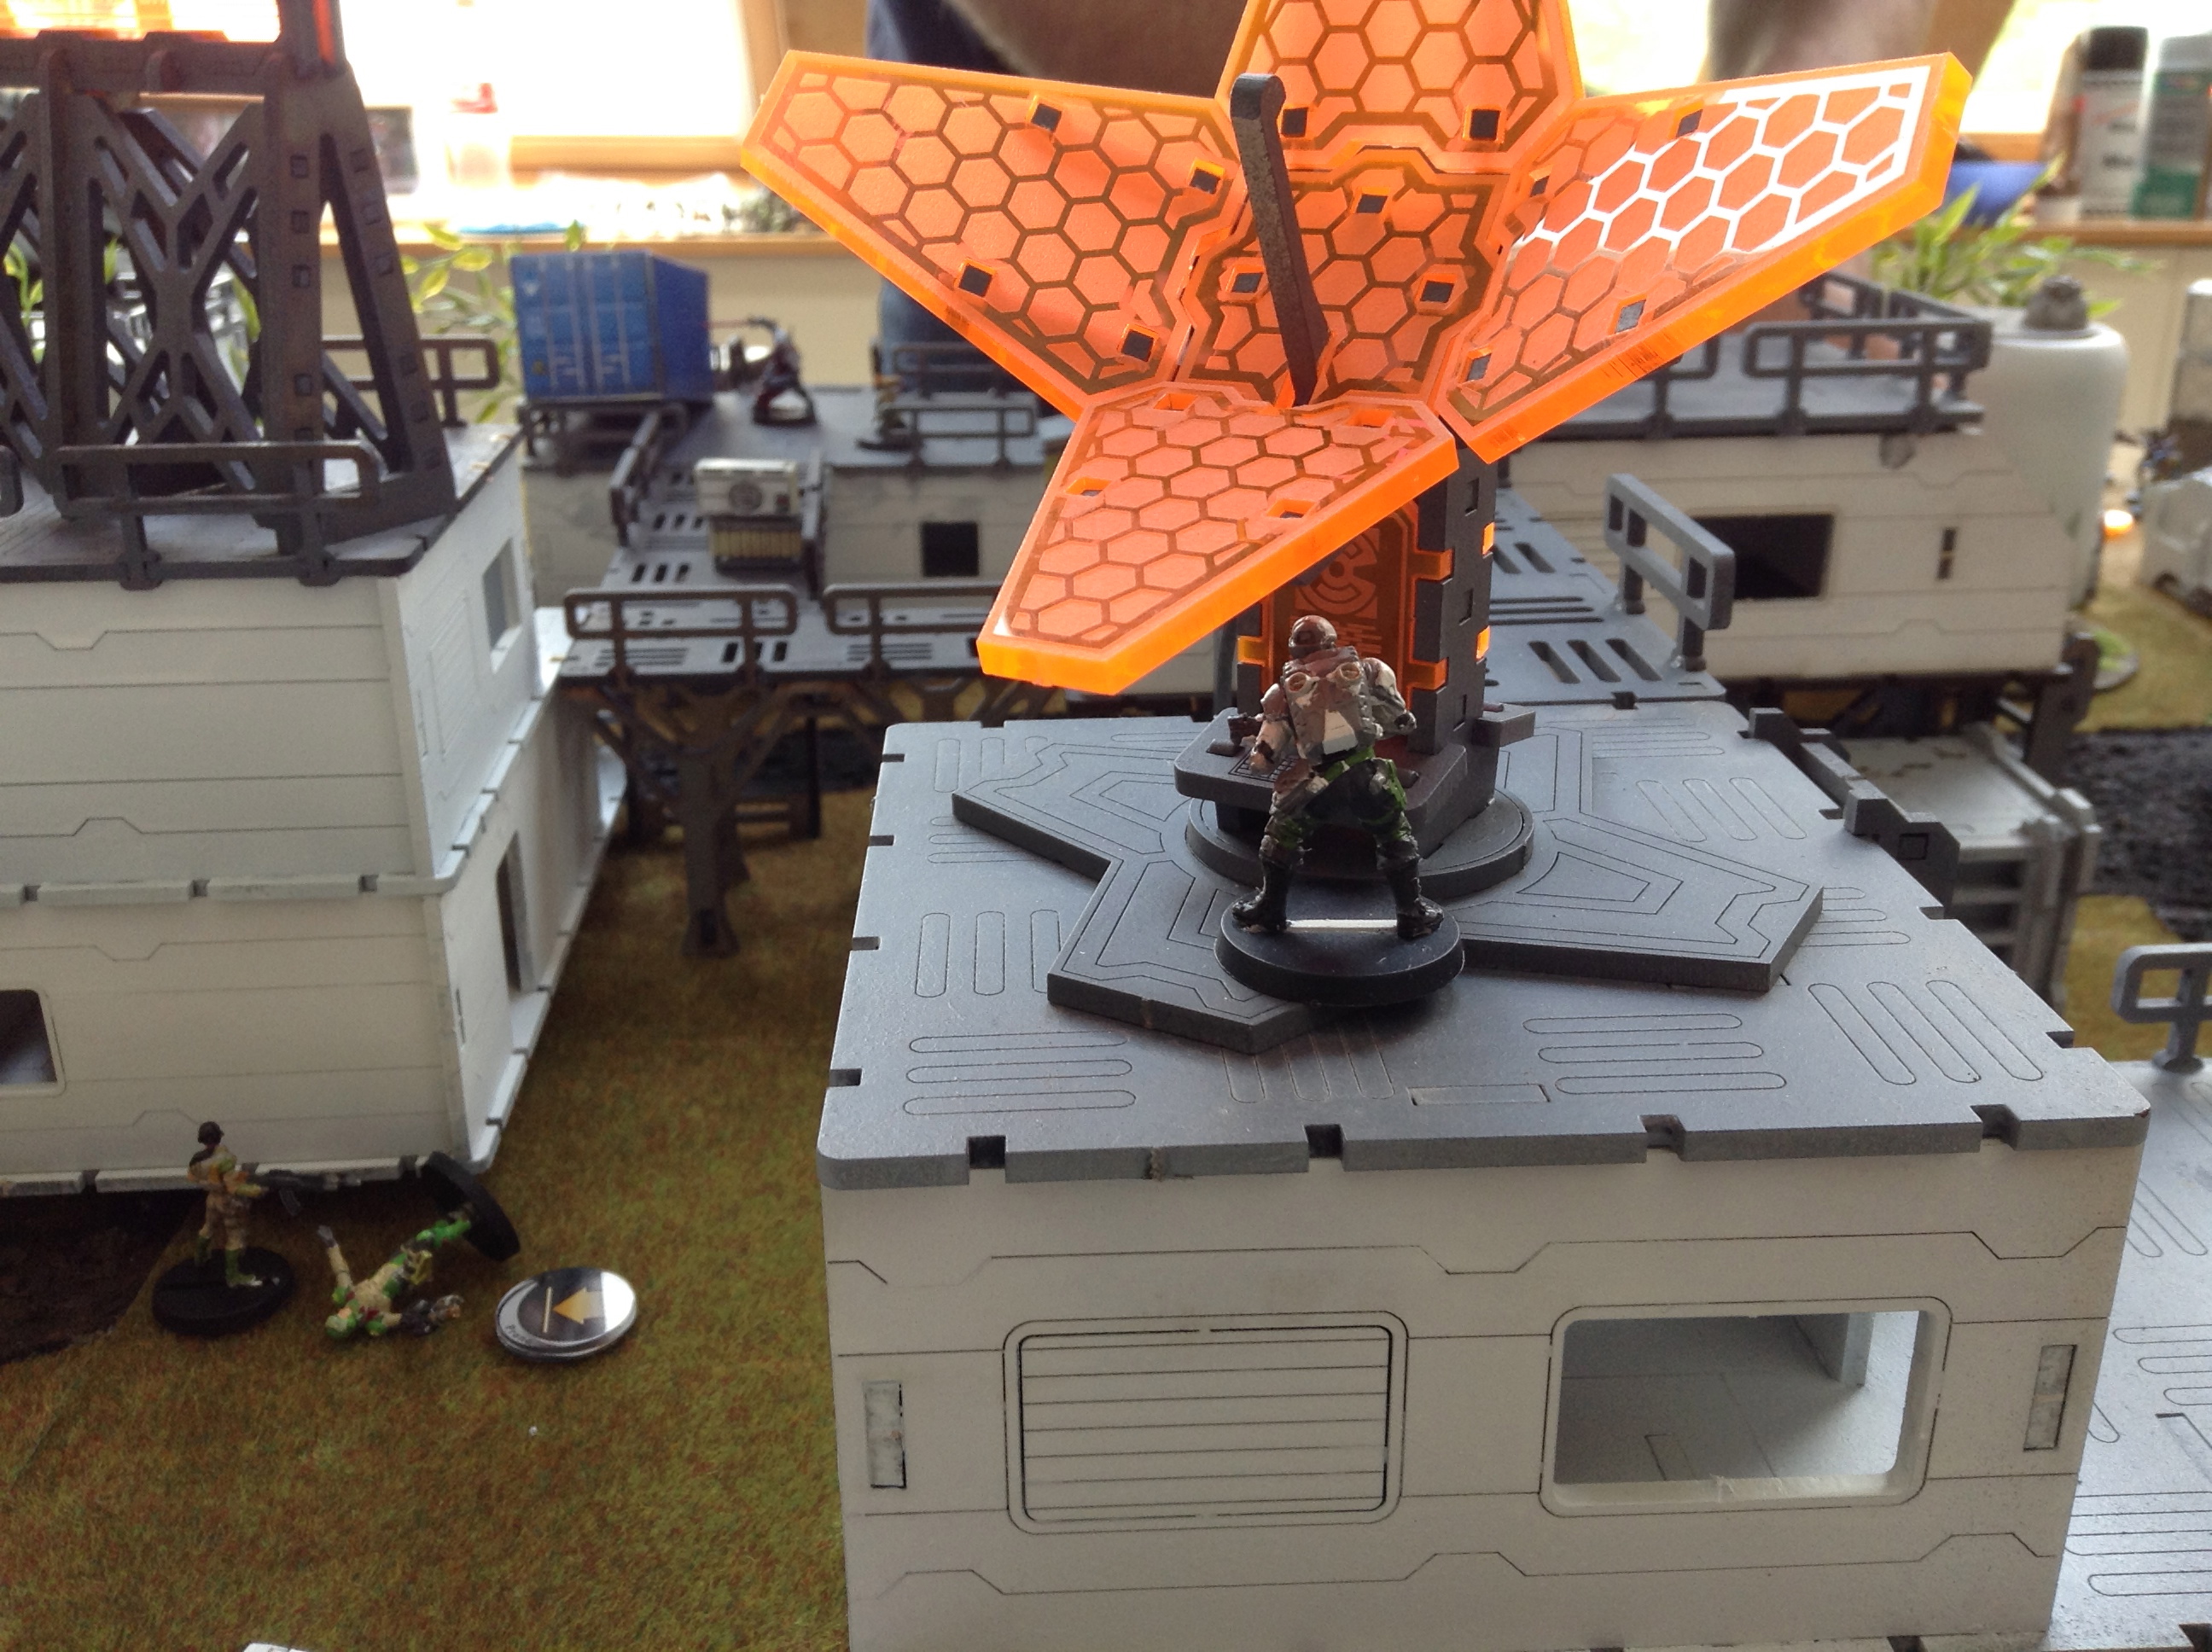
The KTS behind the antennae and the Knight is in the horizon, on the roof.
The next Hospitaller moves up on ground level and when he comes around the corner he spots the Kaplan sniper on the other side of the open space. The HMG takes a full burst at the Kaplan, who reveals himself to be a Hafza with a Spitfire. The Hafza misses his shot, but gets one wound from the Hospitaller and goes down.
The Hafza falls to the HMG fire of the Hospitaller
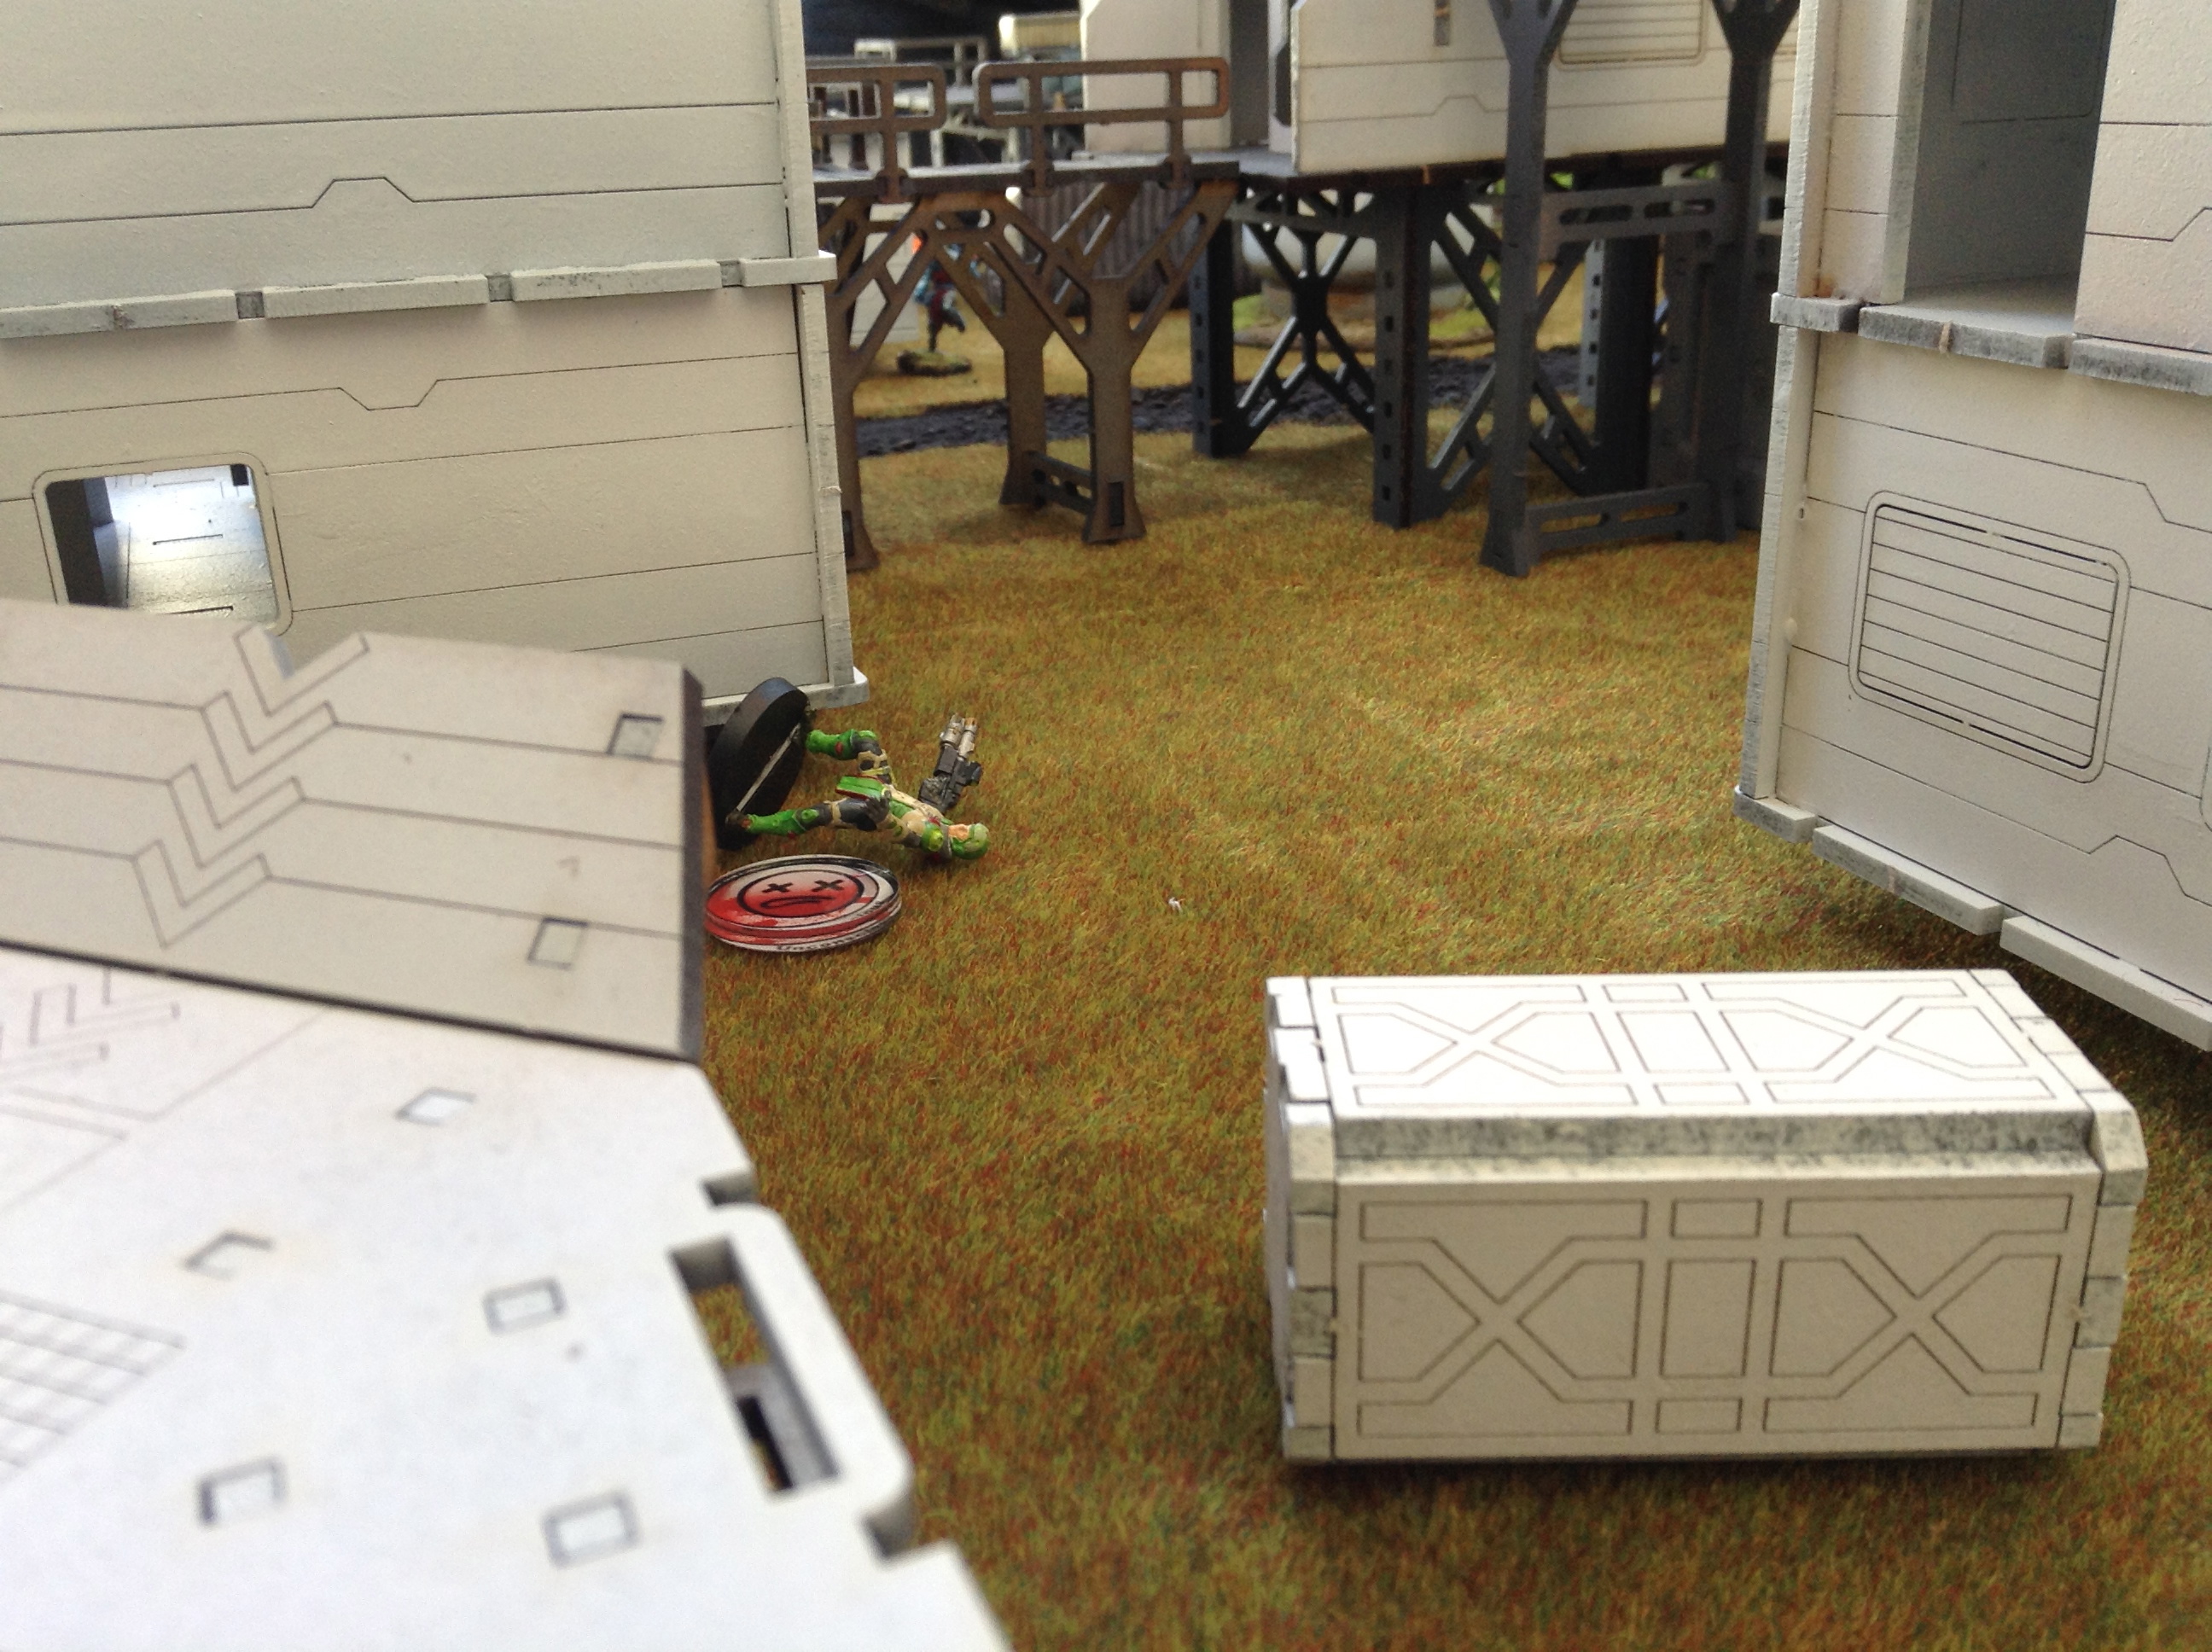
The Hospitaller moves across the open space, but gets spotted by the Haris of Odalisque across the river. They take a shot at the knight, who goes down after both spitfire bullets penetrate his armour.
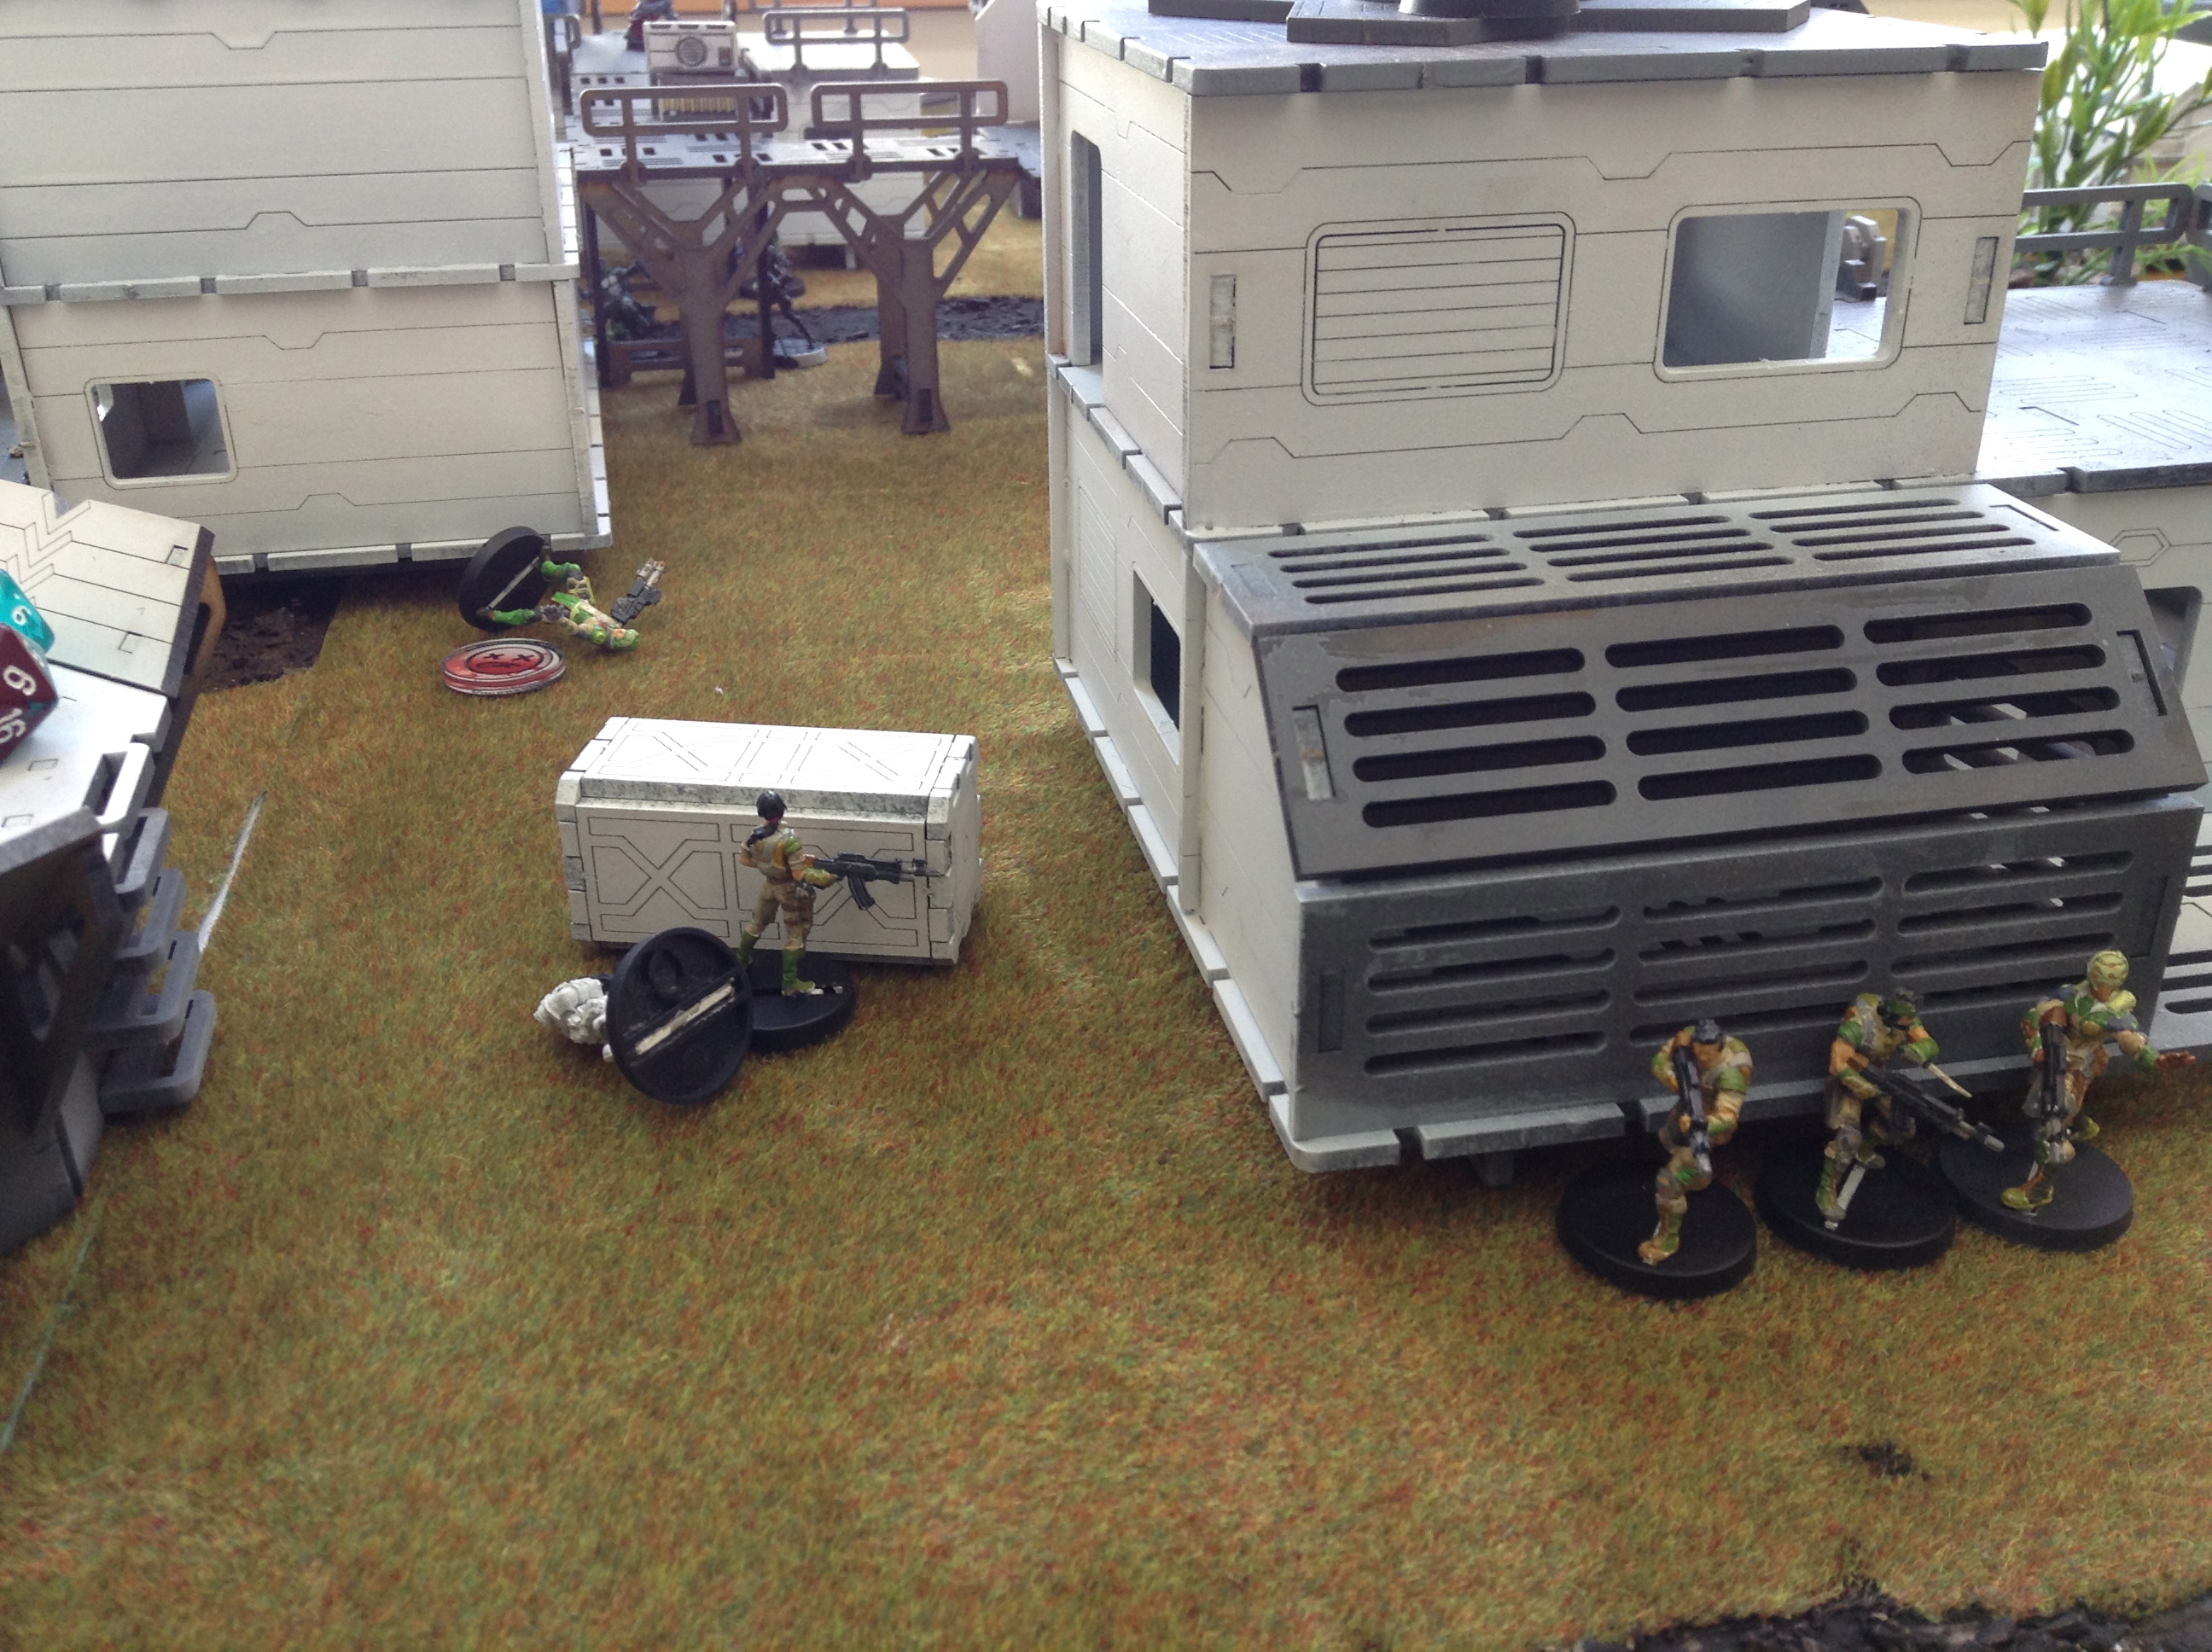
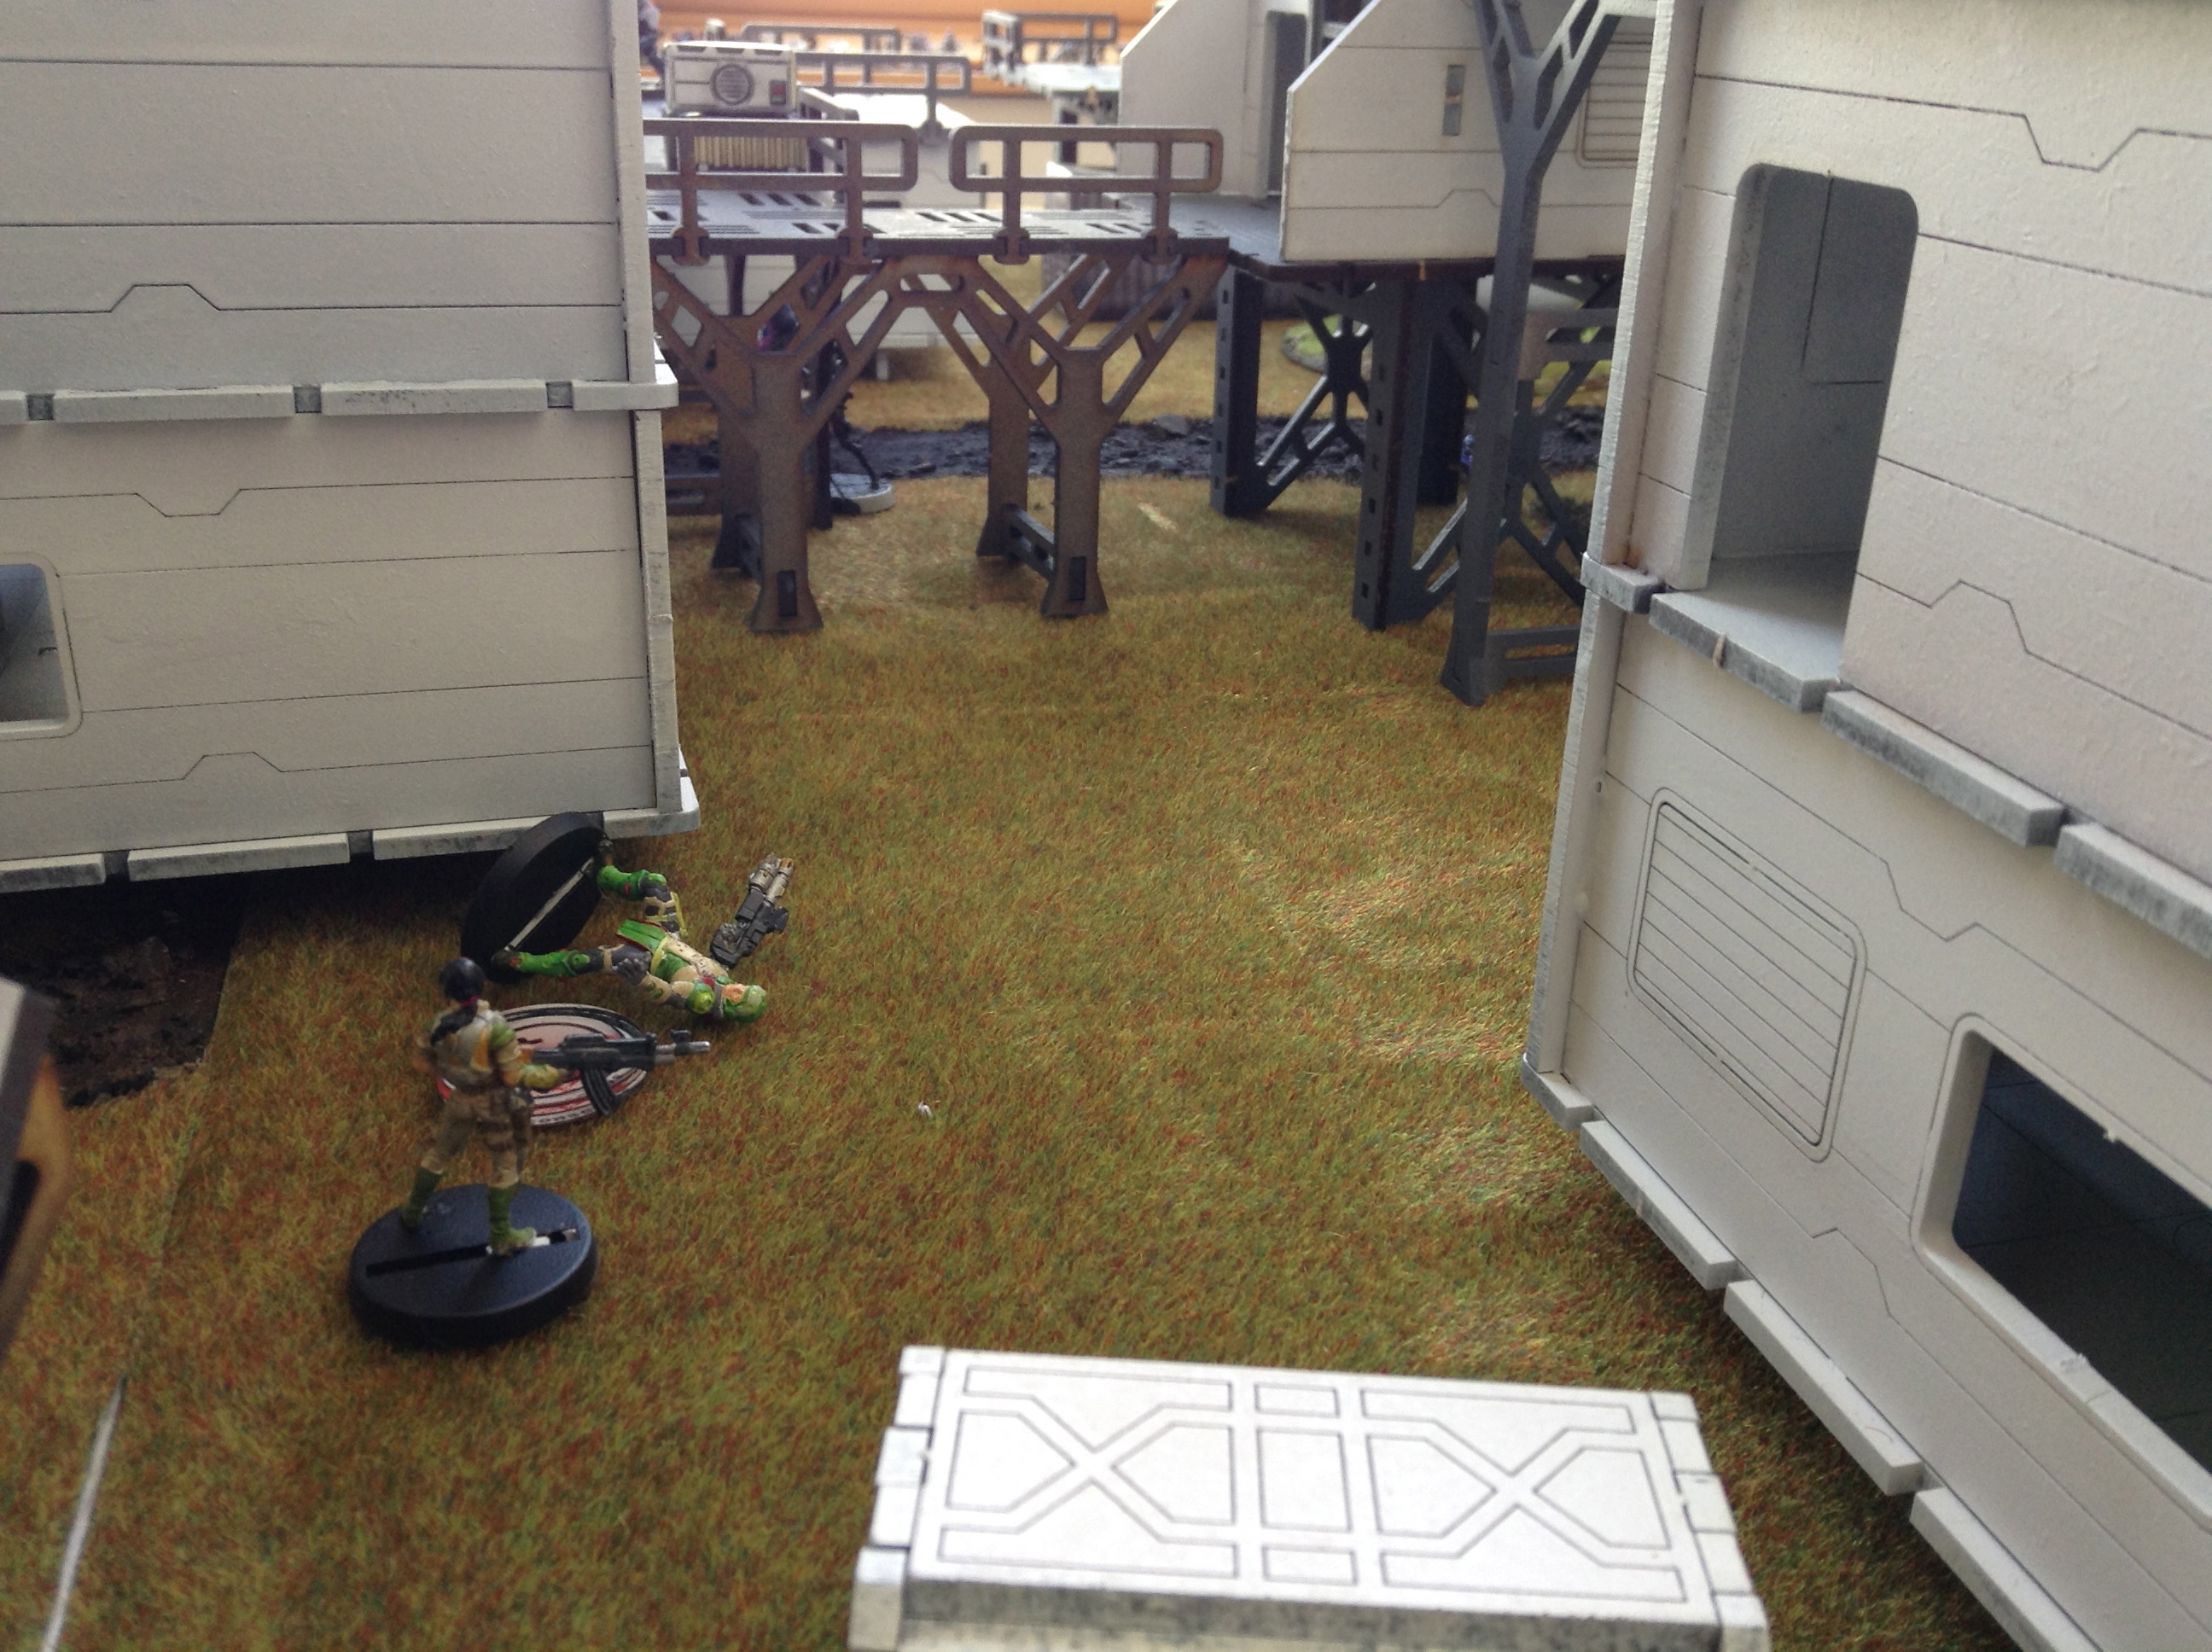
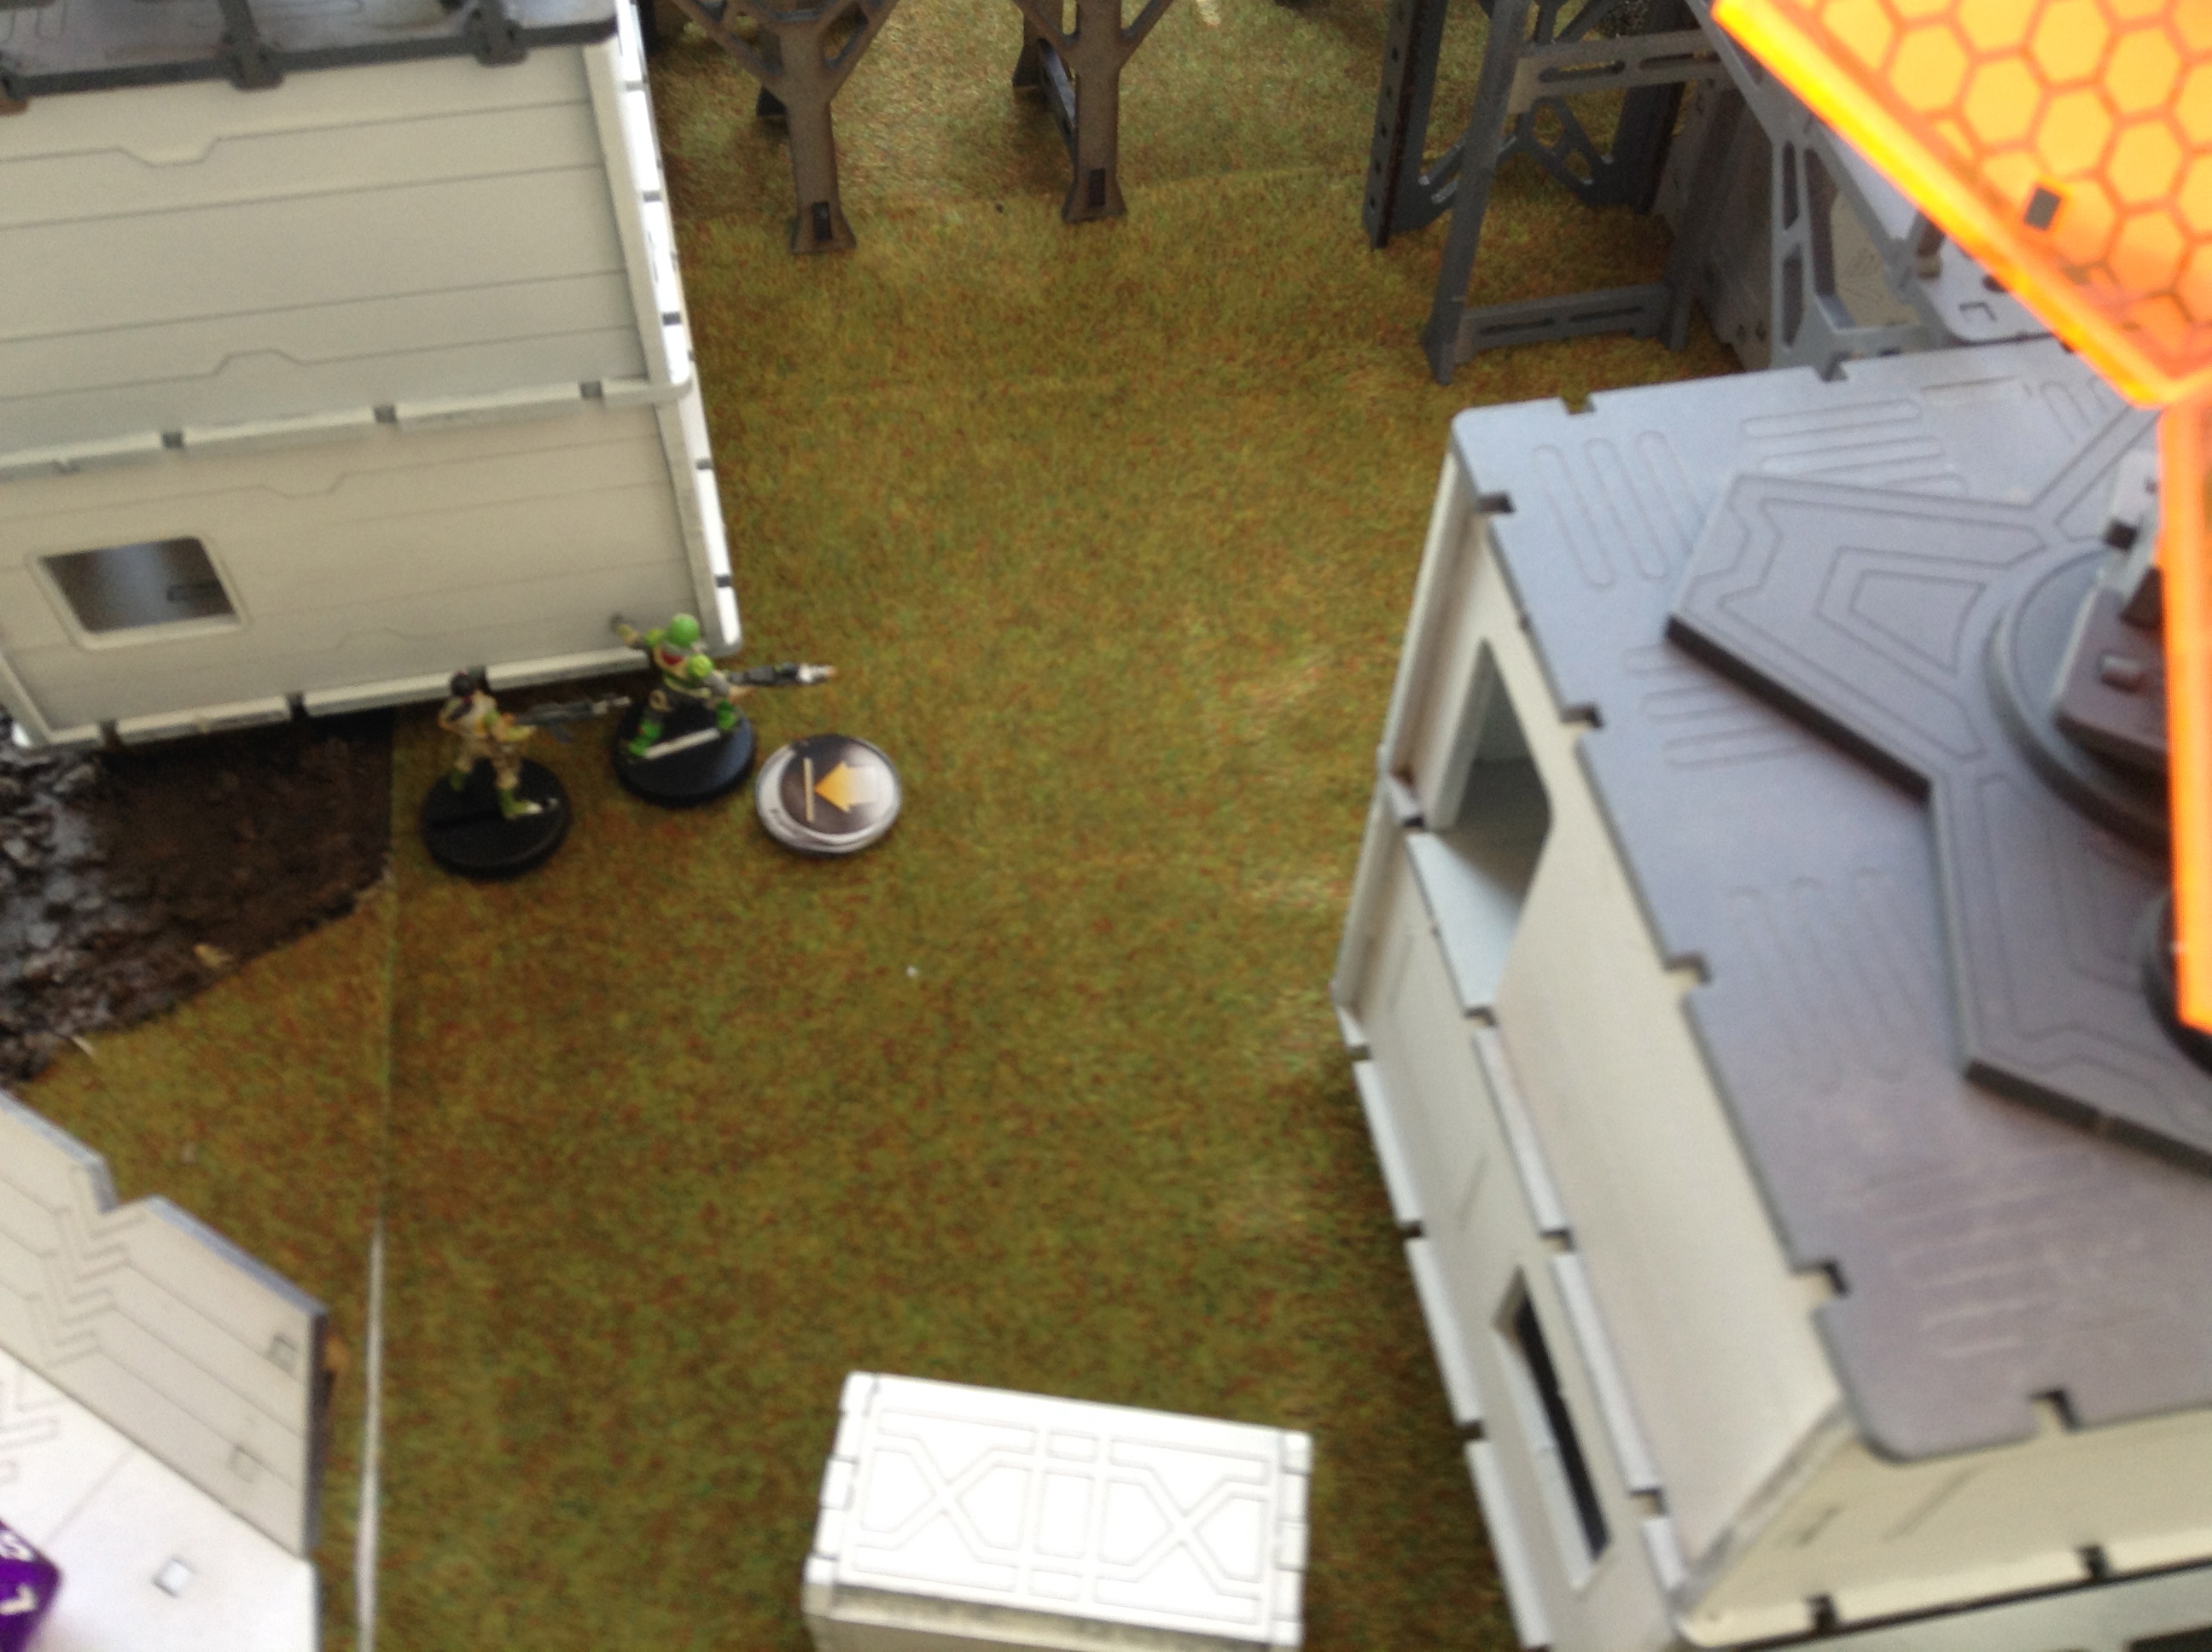
Then all of a sudden, an Order Sergeant sniper hidden in TO camo decloakes on the roof of the building and aims his rifle on the Djanbazan hiding in the foliage across the stream. The Djanbazan takes two hits and dies immediately, not being able to use his Regeneration skill. The Odalisques, are standing below the roof and shoot their nanopulsers up the wall, eating the face of the Order Sergeant right of!
The Djanbazan dies by the sniper fire of the TO camouflaged Spec. Sergeant.
Another Sergeant with a spitfire crosses the open space and gets in to cover quickly before he takes a few shots at the Odalisque haris team. He kills one of the Odalisques and wounds the two others. He then lays a corridor of suppression fire locking the Odalisques in their spot.
With the last orders, the Fusilier linkteam with Bipandra moves up towards the fallen Hospitaller. Unfortunately Bipandra’s doctor skills cannot help to revive the wounded knight and he dies on the spot.
Second Turn
Scorch
The recamoed Al’Hawwa gets out of cover and goes on a kamikazi mission. He gets an alpha strike on the Fusilier linkteam, but misses both his shots. The linkteam, however, does not. The Al’Hawwa dies on the spot, riddled with bullets.
The al Hawwa shoots at the Fusilier, but is unable to hit any of them and instead is killed by the ARO fire.
On the other side of the compound, the Odalisques are locked down by suppression fire but one of them manages to wiggle herself around the corner, away from the suppression fire. The other one has to stay put to not get shot.
After that, the Ghulam linkteam gets it on. The Ghulam carrying the HMG dashes for cover behind some crates on the streets but he is spotted by the Fusilier linkteam who shoot at him. The Ghulam is wounded, but not before he shot a bullet in one of the Fusiliers, who goes down too!
The Ghulam doctor comes to rescue her fellow muslim, but even her al-Medinat trained medical skills aren’t enough to help him and he passes away.
The doctor is pretty upset about the loss of a team member and with a red flash before her eyes she starts shooting the Fusilliers under the walkway, killing both Bipandra and another Fusillier. She then runs towards to Hafza, who’s still lays bleeding on the ground. The doctor manages to revive the Hafza, who starts firing on the Order Sergeant, who still suppresses the lone Odalisque on the other side of the river. The Order Sergeants gives up his suppression fire and shoots back, wounding the Hafza again. The Hafza misses all his shots, it’s just not his day… The Ghulam doctor on the other hand is on a impressive high roll!
-
- The Ghulam passes
-
- The Ghulam Doctor shoots and runs to the Hafza
-
- Hafza is healed.
From the other side of the river, the fled Odalisque opens fire upon the Order Sergeant and the remaining Fusilier. Shooting through the building’s windows, she manages to kill both the Order Sergeant and the Fusilier. That was a lucky shot!
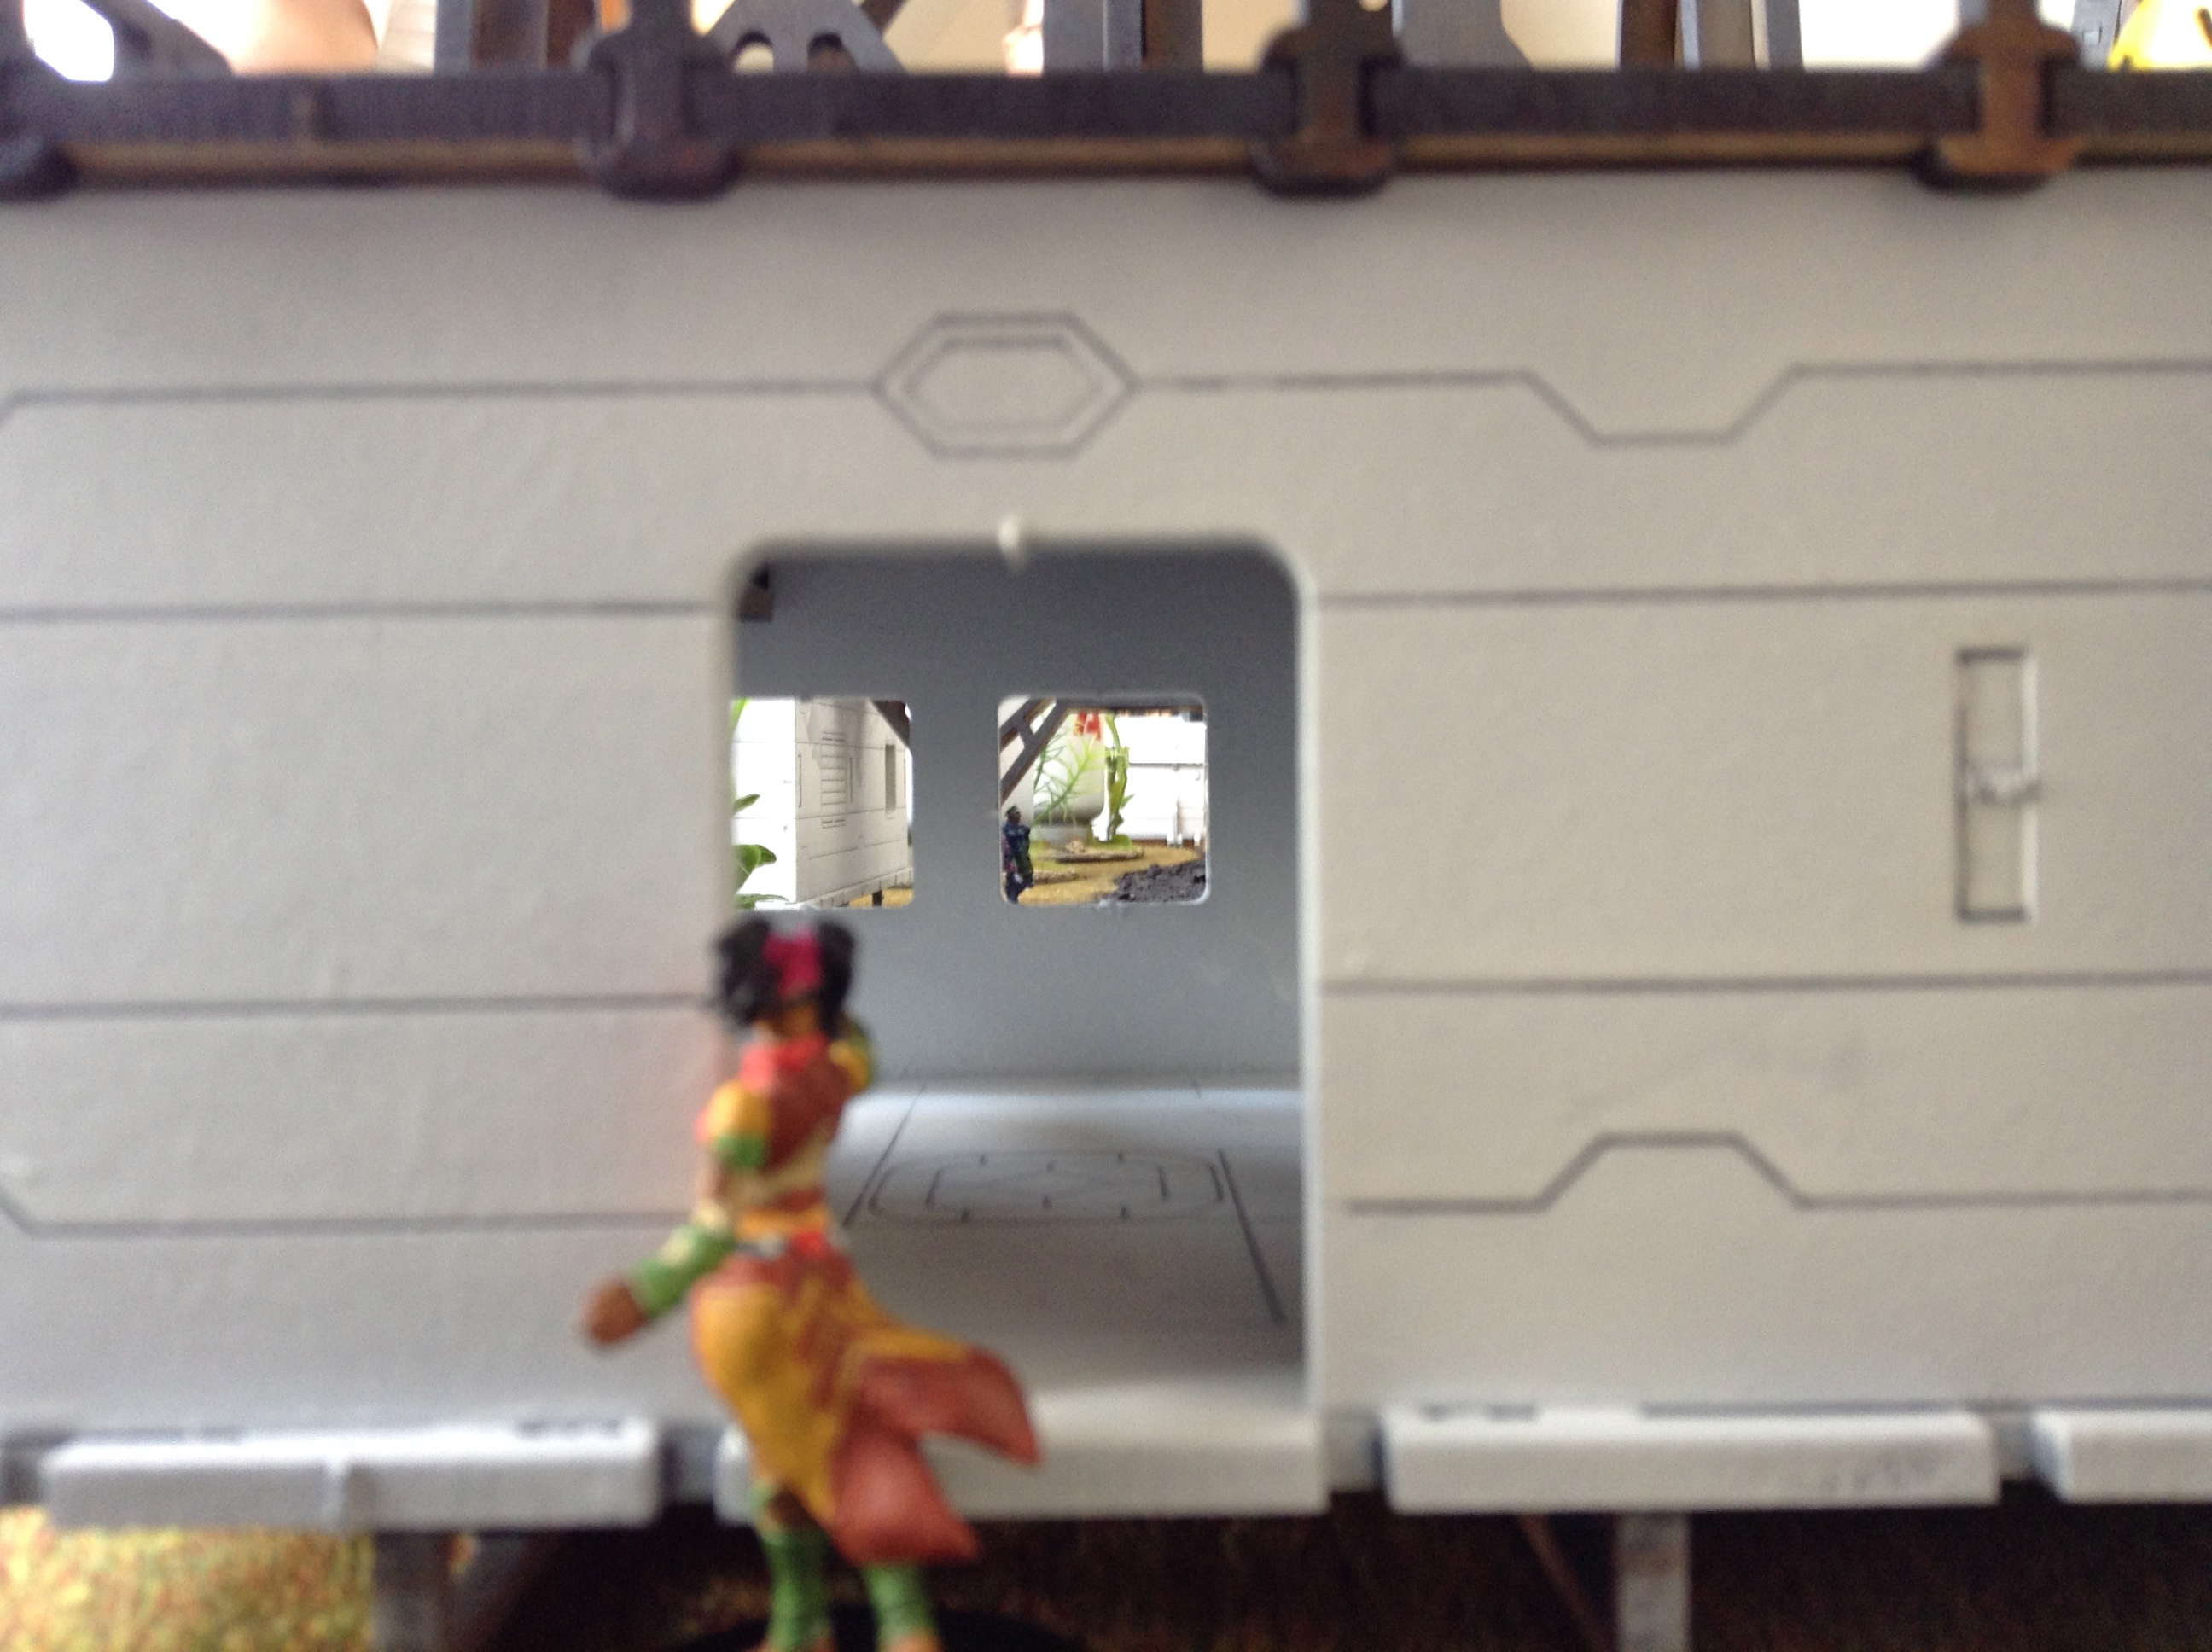
Two lucky shots by the Odalisque, killing the Fusilier and Order Sergeant.
Lampyridae
Now the Sergeant linkteam moves up towards to river and on the other side of the table an Order Sergeant with Auxbot goes up to battlefield. He manages to pass the long open space in the center without getting shot but when the Auxbot crosses the corner the Ghulam doctor spots him and takes a shot, damaging the Auxbot. The Order Sergeant escapes unharmed but is not able to keep synchronized with his Auxbot.
Times up, and we count points.
Scorch:3 points, Lampyridae: 5 points.
Lampyridea wins!


Nice Batrep – hope the next one works out well. Now lets gets ready to N3!
Nice report, would love to see more of these!
We’ll be sure to post more when N3 comes around. Been putting some more work into this board, as well.