

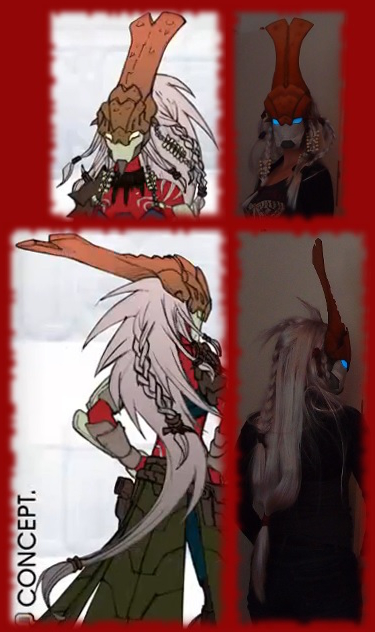
As I already mentioned before I had a lot of spare furry (1). I used this luxury to do a lot of experimenting to test some dyeing methods.
I ended up with a really thinned down acrylic paint that I brushed upwards (2). I took a ivory colored fabric and blended it pink, cut it into a triangle and brushed the fur again after it was completely dry (3).
The two parts were sewed together (4) and filled with wadding (5). After sewing the ears to the wig (6) I found the pink not striking enough, so I recolored it (7).
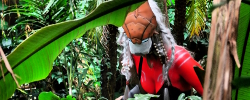
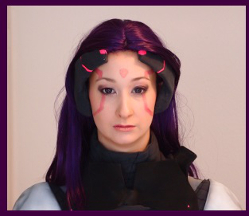
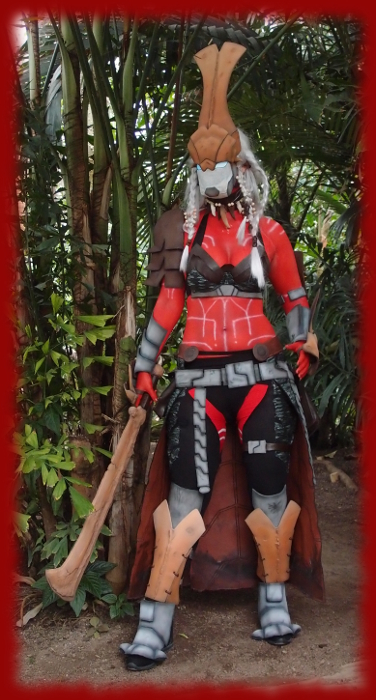
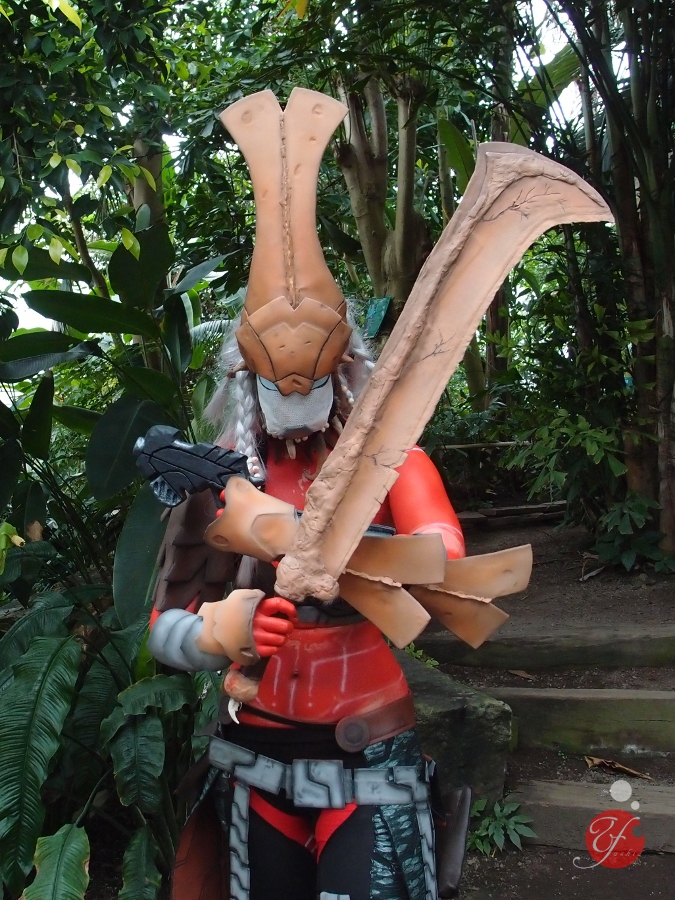
Together with the fangs, make up and lenses the head is finished!


1. This is the powder used for the teeth. Anyone else thinks this looks illegal?
2. Some drops of the liquid coming along with the teeth added and the powder gets pasty and nearly lucent.
3. Filled the mixture into one fang, ...
4. … placed it onto my tooth and waited. As you can see spare mixture squeezes out around the edges. This is intended to give it a better stay. After waiting five minutes the instructions manual allows to continue with the second fang.
5. When both teeth are placed you have to wait another 15 minutes before you're allowed to remove them. Though the manual tells you the teeth aren't easy removable I got nearly afraid to never being able to remove them again. They fit really tight!
6. After letting it dry for 24 hours the spillover at the front can be cut off. The one at the back should be left for a better stay.
7. And this is what it looks like if worn. The fangs are now far better removable but stay on really good. I have to admit I didn't think they would be this good! They aren't completely white, so they look very natural! ^_^

1. Tuck the hair under the hair net and primed my face with skin toned and white make up.
2. Phased the white down, added some shadows and painted on the snout.
3. Painted a fur like texture into the white and some whiskers on the snout.
4. Made some very smokey eyes.
5. Painted on the symbol under the eye and colored the eyebrows, gave the white some more structure and increased the shadows beneath the nose.
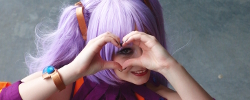
6. Blended the structure in the white out, put on the teeth and the circle lenses in. The lenses are really cool. I like them a lot! ^_^
7. The final result with the wig. This was just testing. The final make up for the Cosplay will probably look different.

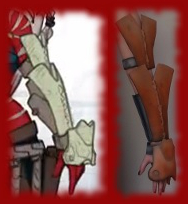
1. This is a piece of Kobra Cast. Like Wonderflex it's a thermoplast (Can be deformed by heating it) but has the advantage of being bendable in two axes and being sewable. It doesn't simply look like plaster, it indeed is designed to be a plastic plaster!
2. Luckily it's nearly eastern and styrofoam eggs are available in nearly every size ^_^ I used it to shape the Kobra Cast. As you can see it undulates easily so it takes a bit patience to get it smooth.
3. After cooling down I cut it in the needed shape.
4. Cut little slices in the corners of the plates and attached magnets.
5. Since Kobra Cast is very rough and flexible it needed to be covered. I used Woblas Finest Art. This is a thermoplast, too, but has a much smoother surface than Kobra Cast.
6. Primed and colored it but I found it very dull so I bought a glossy varnish.
7. This is the plate after applying the varnish. I was playing the thought of giving one of the plates a faction or unit symbol, but fluff wise the Chimera is an undercover agent, so that wouldn't fit very well


1. As for the Comlog I again started with the foam rubber and Woblas parts cut out.
2. Attached magnets to the first layer of Woblas, heated it, pressed the foam rubber to it and added the second layer.
3. Neatened the edges and shaped it.
4. Made a second part to fit on the top of the back plate, neatened the bottom edge but left the upper edge as is to have something to glue it to the rest with.
5. This is what the back plate looked like after the construction part.
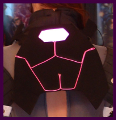
6. Took some neon green cardboard and coated it with a fluorescent paint.
7. Painted the back plate. After drying I roughly cut circles out of the cardboard and glued it in with the hot-melt gun. (The bubbles you can see are from heating the Woblas again and again... very annoying... >_<)
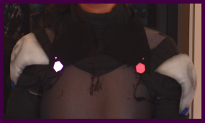
8. Thanks to the fluorescent paint the circles glow in the dark! ^_^
9. Sewed tabs with magnets on them to the bolero to make the back plate stay.
10. And this is how it looks when attached.

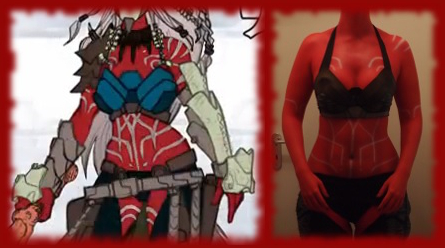
1. Primarily I planned to use the shirt as base for the armor, but while getting experience with it I recognized I had to do it differently. So I cut off the bottom part of the shirt so it won't be seen.
2. I shaped a skeletal structure using Kobra Cast. We remember: Kobra Cast has the advantage of being sewable!
3. Sewed on the upper part of the buckle...
4. … and some straps.
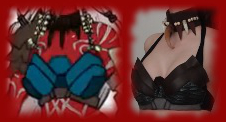
5. I glued in the violet fabric but by hindsight I'll remove it and glue it in again after painting the breastplate.
6. Roughly cut out foam rubber...
7. … and glued it onto the Kobra Cast by step by step heating foam and cast, shaping and pressing them together, waiting till it was cooled down and heating the next part. After everything was applied I cut off the spare foam rubber.
8. I used a soldering iron to burn in a line. It didn't work very well, so I ordered one for doing poker work (decorating wood or leather by burning patterns in it). That's the fifth toy I bought simply for cosplaying...
9. Glued on the bottom parts as I did before. The breastplate is now prepared for getting “Worblified”!


1. This was the breastplate after the first part.
2. I removed the violet fabric and covered the plate with Worblas...
3. … and painted it.
4. Cut out foam rubber...
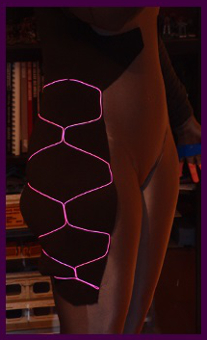
5. … and attached green paper board painted with fluorescent paint as I did before at the backplate.
6. Reattached the fabric and glued on the foam rubber.
7. It's not really perfect, but when worn it looks much better.


 Viewed 30373 times")


 Viewed 30373 times")
 Viewed 30373 times")
 Viewed 30373 times")
 Viewed 30261 times")
 Viewed 30261 times")
 Viewed 30261 times")
 Viewed 30261 times")

 Viewed 30220 times")


 Viewed 30220 times")
 Viewed 30220 times")
 Viewed 30220 times")
 Viewed 30220 times")
 Viewed 30220 times")
 Viewed 30220 times")
 Viewed 30220 times")
 Viewed 30220 times")
 Viewed 30220 times")


.jpg.fc56b22b5cd26f94173260d4ebec8fc5.jpg)
.jpg.3cf3fe0aff27022d4d9e53041505d7a4.jpg)
.jpg.5dd7b4b0ac95ee7bbc1ff354f1feb1f1.jpg)
.jpg.820f6c5c257bc6f4690be994be6a5e8e.jpg)
.jpg.e75f0516385747a6542895af72a92104.jpg)
.jpg.2264a92c73f0bf60218023768822dae6.jpg)
.jpg.8da08021c32875b49b812c63c42cf987.jpg)
.jpg.f5a4dc0e56ea851a315427eb34bfe1ef.jpg)
.jpg.cdfdf0b454295580e38fc3f288e92bf8.jpg)
.jpg.dae1ce3efc749a0624bef4f70018d477.jpg)
.jpg.76253a85f7932c3e4f9bff14e2496cf8.jpg)
.jpg.1ff779b98bdb217d1b2fd42e29a1b05e.jpg)
.jpg.35e59e0c812f1d0e615fbffcb7d5e0e1.jpg)
.jpg.ef6b54262db042a640bfaa9f6aa900d8.jpg)
.jpg.7f39c91f2f0f5615aacf1d4fb2a2687d.jpg)
.jpg.c503ab1f8018902f2ae9062fc57aae85.jpg)
.JPG.089a994b62d0d59e1ab655647e03a37c.JPG)
.jpg.fba8754d7c7a5cdac7c28882f53e24ef.jpg)


.jpg.4d633f8a920d99e959999336620cdb8b.jpg)
.jpg.51ea4f6587131245f9e17db98e826444.jpg)
.jpg.77e07654c5f6e6c1e08eeb0a84c33145.jpg)
.jpg.6e3ad6b34e4270876127d24bb94b237d.jpg)
.jpg.4e8cacdb3670005aad9a1423901b746f.jpg)
.jpg.f51a8c19566655007c129b6fe61c7887.jpg)
.jpg.8cb093228bc3de035ea5aa43789fcd2f.jpg)
.png.ae1f6db16cf947831ec221644922bc23.png)
.jpg.4a3dd00bb896f2b4f55a0315d22d2466.jpg)
.jpg.d04e4bdb96c5041eddeb35f9275320af.jpg)
.jpg.3665612ec0060d2bf7c0271e83d7ef8a.jpg)


.jpg.f41b81ea4b6c774a8847b1f8df4aa3eb.jpg)
.jpg.6b7ea7989660c302a4ae821b3a28e2df.jpg)
.jpg.029172167ffe44869da63034df82bdf2.jpg)
.jpg.91d5fafb5094af45dfaef7cac2b6735b.jpg)
.jpg.e44c46d0dced845b4ea622193e155854.jpg)
.jpg.5ece0df8cff811e5912f7d837cb3d520.jpg)
.jpg.01859d32d638eb3633ca4ce45927c75b.jpg)
.jpg.a2cb7582bfbd76f4481908c535f861ec.jpg)


 Viewed 23249 times")


